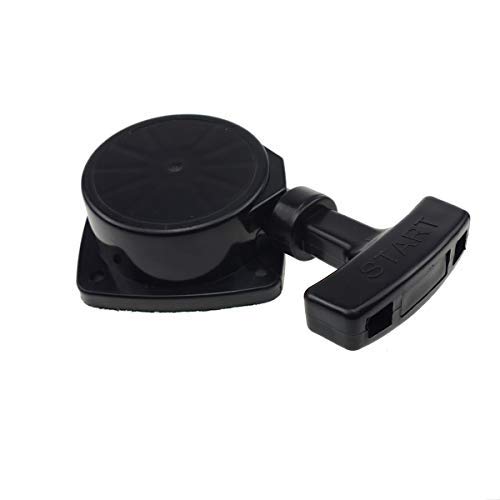
First, check the air filter, fuel line, and spark plug—clean or replace anything that looks dirty or worn. Put on safety glasses, gloves, and ear protection, then clear a 50‑foot zone and point the nozzle away from people. Align the upper pipe’s ribs with the fan case, click it in, rotate the lock ring, and snap the lower tube into place, tightening the clamp. For cold weather, set the choke, pump the purge bulb 5‑6 times, and pull the recoil starter twice quickly; then shift the choke to run and give one more pull. In warm weather, skip the choke and pull the starter sharply 1‑3 times. After it fires, idle a few minutes, then run at full throttle for five minutes to warm the carburetor. Keep the exhaust cool, wipe down the exterior, and store the blower upright in a dry place—follow these steps and you’ll get it running safely and efficiently, and there’s plenty more to explore.
Pre‑Start Inspection for Your Echo Leaf Blower
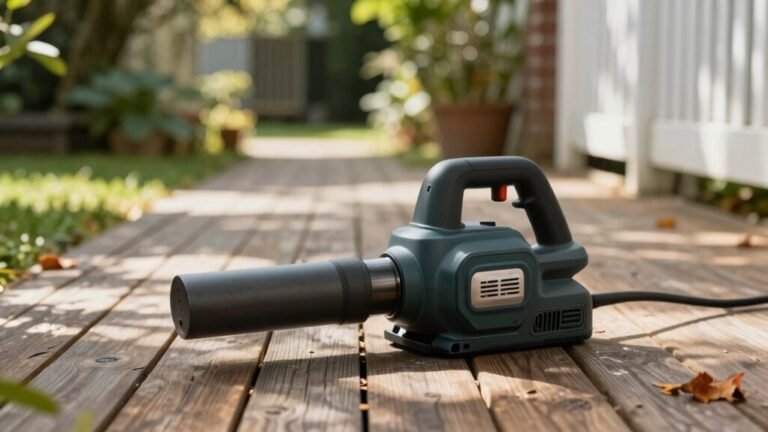
When you’re about to fire up your Echo leaf blower, the most important step isn’t cranking the starter—it’s the pre‑start inspection, and it can save you from a lot of hassle later. First, pop off the filter cover and pull out the air filter. Give it a good look—if you see dirt, debris, or oil residue, clean it with mild detergent and warm water, or replace it if it’s damaged. Next, check the fuel line for any cracks, leaks, or wear; a compromised fuel line will cause starting trouble and could be dangerous. While you’re at it, inspect the fuel filter inside the tank for clogs. Tighten any loose fasteners, and make sure the intake vents and cooling fins are clear. The good news is that a quick visual scan and a few simple clean‑ups usually prevent bigger headaches down the road. Also, verify that the tube connections are secure and free of cracks before starting. A well‑maintained blower can deliver consistent airflow comparable to top‑tier Stihl models. Echo’s design also includes a dual‑stage filtration system that helps maintain performance over time.
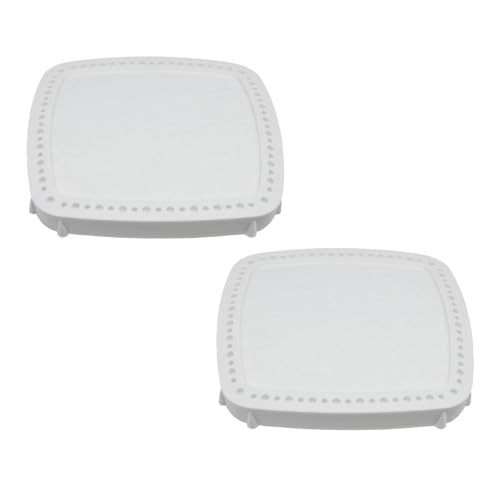
Replace Part Number: A226002160

Replacement for Echo Backpack Leaf Blower 2 Stroke Engine PB-403, PB-403H, PB-403T, PB-413,PB-413H, PB-413T, PB-580H, PB-580T, PB-620, PB-650, PB-650H, PB-650T, PB-651H, PB-651T, PB-755SH, PB-755ST

PB-580T Air Filter Replacement manufcturer part number: ECHO A226000031 A226000032 90151 90070 90070C 90156 90156Y
Assemble Upper and Lower Pipes Correctly
If you line the upper and lower pipes just right, the blower will run smooth and you’ll avoid a lot of frustration later. Start by standing the unit upright on its base, then line the locking ribs on the upper pipe with the pipe lock in the fan case. Slide the pipe in until you hear a click, making sure the short rib faces down. Rotate the locking ring clockwise to lock it. Next, insert the lower tube fully into the locking‑ring recesses, aligning its ribs with the recesses. Push the tube until it snaps, then rotate the blower pipe clockwise to engage the threaded tabs. Finally, perform clamp tightening: place the clamp over the connection, finger‑tighten the knob, and give it a firm turn for a secure fit. The PB 9010 is identified as the biggest model on the market, making proper alignment essential for optimal performance. Proper battery durability is also a key factor when comparing the Echo to other models like Greenworks and Ego. For large properties, a higher horsepower backpack blower can significantly reduce cleaning time.
Wear Safety Gear and Clear the Work Area
Even before you fire up the blower, you’ve got to suit up and clear the area—otherwise you’re inviting trouble. Slip on safety glasses with sealed rubber edges, tighten ear muffs, and pull a respirator over your nose if dust’s thick. Grab sturdy gloves, wear long‑sleeve shirts and long pants, and make sure your boots are closed‑toe. Secure any long hair under a hat or pin it up, and ditch loose jackets or jewelry that could get sucked into the intake. Now, create gear clearance: mark a 50‑foot safety zone, push pets and bystanders back, and point the nozzle away from anyone. Use wind direction for debris control, and keep the blower idled when people approach. Your workspace stays safe, and you stay focused. Pro fire ignitions ensure rapid start‑up without hesitation. This approach also minimizes noise pollution during residential use. Choosing a blower with appropriate horsepower can prevent unnecessary strain on the engine. Follow the manufacturer’s starting procedure to avoid engine damage.
Clean or Replace the Spark Plug
After you’ve got your safety gear on and the work area cleared, the next step is to make sure the blower’s engine is happy with a clean or fresh spark plug. First, turn the switch off and let the engine cool completely. Pull the wire and boot off the plug, then use a 19 mm socket or spark‑plug wrench to loosen it. Inspect the electrode for carbon, oil, or wear; if it’s dirty, brush it off, blow out debris, and wipe the threads with a rag that has a thin anti‑seal application. Measure the gap—0.026‑0.029 inches for most Echo models—and adjust with a gapping tool. If the plug is worn, replace it with an NGK BPM8Y, hand‑thread it, then apply spark plug torque of 130‑150 in‑lb. Reattach the wire and boot, and you’re ready to fire up the blower. Use a torque wrench to achieve the specified 150 in‑lb. The pulsating surge from a hydraulic ram pump can also be harnessed for low‑energy power applications. A common cause of startup failure is a dead battery that lacks sufficient charge.


15901019830 ECHO (4)pack NGK BPM8Y 130 884 Spark Plug Echo Blower Chainsaw (1)

Spark Plug Replace NGK BPMR8Y BPM8Y ;Champion RCJ8Y,Torch L8RTC,Echo A425000030 A425000000 90114Y 15901019830
Cold‑Weather Start Guide for Echo Leaf Blower
Cold weather can make even a trusty Echo leaf blower feel stubborn, but with a quick, systematic routine you’ll have it humming in no time. First, run through your fuel‑weather checklist: verify the tank is full, clear the air‑filter area, and make sure no loose bolts are rattling. Set the on/off switch to on, move the choke lever to the cold‑start position, and pump the purge bulb five or six times until you see fuel. Hold the blower firmly on the ground, then pull the recoil starter handle twice quickly. After the engine fires, shift the choke to run, give one more pull, and you’re ready. Remember, good ignition‑timing tips mean short, firm pulls—no lingering in the choke for subsequent attempts. Wear hearing protection before starting to protect your ears from the engine noise. Parallel fuel injection can further improve start reliability in low temperatures. A well‑maintained air filter prevents fuel starvation and keeps the engine running smoothly. Higher CFM values mean more airflow, which helps clear debris faster even in chilly conditions.

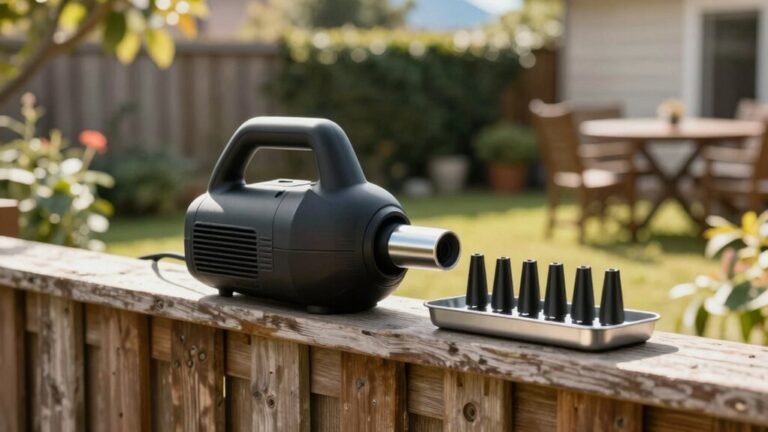
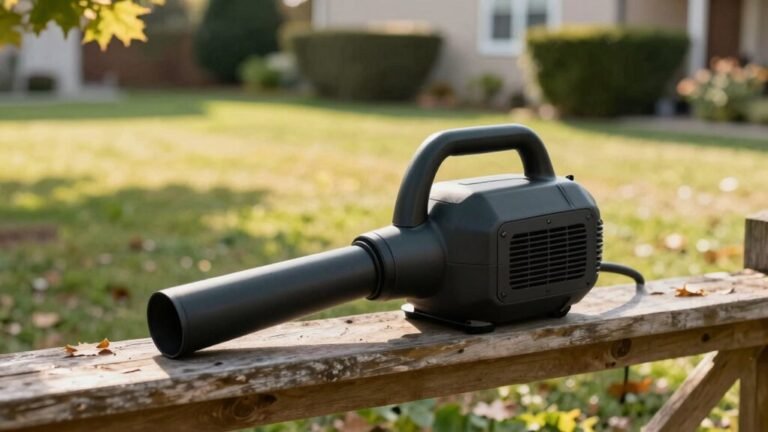
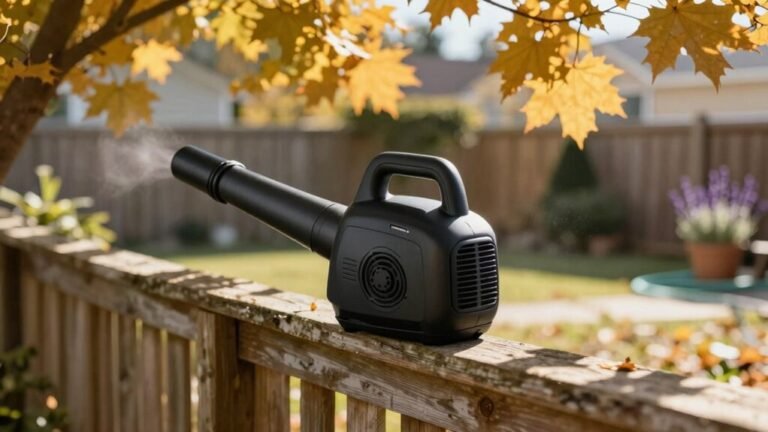
INSTANT POWER BOOST: This leaf blower booster instantly and significantly increases air power and speed. It fits perfectly with all 2 to 4-inch leaf blower nozzles, making it an ideal performance upgrade for your leaf blower .

Unleash Dominating Power: Meet your Relxxon blower’s 26cc engine blasting 380 CFM & 180 MPH to clear stubborn leaves, grass clippings & even light snow; conquer yard work in minutes, not hours, and enjoy a pristine landscape all year

Efficient Start-up: Backpack blower carburetor tune up kit ensures that the machine is easy to start and can run quickly in both cold and hot start-up situations, it is able to keep machine up and running smoothly, reducing the need for machine breakdowns and maintenance
Warm‑Engine Start Guide for Echo Leaf Blower
When your Echo leaf blower is already warm, you can skip the choke and get straight to the pull—here’s the thing: a warm engine needs just a firm, quick yank of the recoil starter, and you’ll be up and running in seconds. First, place the blower on a flat, stable surface and make sure the air filter and spark arrestor are clean. Flip the ignition switch to “run,” keep it on, and grab the throttle with your left hand. Pull the starter handle sharply 1‑3 times; most engines fire on the first or second pull. After it starts, let it idle a few minutes, then run at full throttle for five minutes to warm the carburetor. This quick warm‑up boosts fuel efficiency and reduces wear, supporting long‑term engine maintenance. Verify exhaust system is cool before handling the blower. Remember to check the fuel‑oil mixture before each use to avoid engine stalling. Proper pre‑operation inspection ensures safe and reliable performance.

IMPORTANT NOTE: Please kindly confirm your engine's model and part numbers before purchasing to guarantee that you receive the correct parts
【Replaces】 A052000490, A051002980 and A050000340 PB-500H (P02311001001 - P02311999999) Backpack Blower, PB-500H (P31312001001 - P31312999999) Backpack Blower, PB-500H (P31513001001 - P31513999999) Backpack Blower,PB-500H (P33011001001 - P33011999999) Backpack Blower

OEM Part Number: A051000961 A051000960
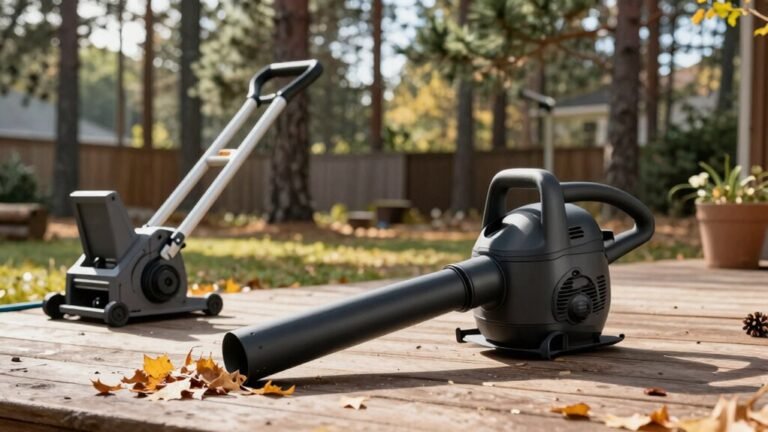
Storage Tips for Your Echo Leaf Blower
Once the engine’s warmed up and you’ve given it a quick run, the next step is to think about how you’ll store it until the next leaf‑clearing season. First, wipe the exterior with a soft brush and clear the air‑intake vents, then place the blower in a breathable storage bag to keep dust out. Store it upright in a cool, dry shed away from direct sunlight, and hang any nozzles or attachments on a hook so they don’t get crushed. For battery‑powered models, remove the battery, charge it fully, and schedule a brief charge every few weeks—this is the good news for battery maintenance. Keep the bag closed, inspect for cracks, and you’ll be ready for next year’s work. The step liner organizers slide into place neatly, providing extra support for the blower during storage. Always disconnect the spark plug before cleaning to prevent accidental start‑up. Selecting the proper viscosity rating for your storage environment helps prevent fluid degradation and ensures optimal performance when you resume usage. The invention of the leaf blower by Walter B. H. Smith in the 1950s pioneered modern outdoor power tools.