First, make sure the kill‑switch lever is set to “on” and you hear the click confirming it’s ready. If it’s electric, release the trigger; if it’s gas, flip the on/off switch to “off” and hold it for a moment. Let the engine idle for about 30 seconds on a heat‑resistant surface so it cools down, then check the nozzle for clogs and give it a quick brush‑out. Inspect the spark plug or battery contacts for wear, and if you notice any odd vibration, tag the unit “Do Not Use” and lock it out until you can get it serviced. Keep going and you’ll uncover the full maintenance routine.
Verify the Blower’s Kill Switch Is “On” Before Shutdown
When you’re winding down a leaf‑blower, the first thing you’ve got to do is make sure the kill switch is still set to “on.” It sounds almost too simple, but that little lever on the handle is the gatekeeper for the engine’s ignition—if it’s already in the off position, you’ll be pulling the cord or cranking the throttle for nothing, and you could even damage the starter. For proper kill switch verification, give the lever a quick flick to confirm it clicks into “on” before you start the shutdown sequence. This is a core part of pre start safety on any gas‑powered unit, from Husqvarna backpacks to ECHO handhelds. A firm, audible click tells you the ignition is ready, preventing wasted effort and protecting the starter from unnecessary strain. Even if you’re in a rush, take that second to double‑check; it saves time, frustration, and costly repairs later. Always wear hearing protection while operating the blower to protect your ears from noise. Clogged fuel lines can also prevent proper shutdown if fuel continues to leak into the carburetor. Regularly inspect the air filter to ensure it isn’t clogged, which can affect engine performance and shutdown reliability. Echo’s design often includes a lightweight frame that makes handling the unit easier during shutdown.


Replace for.: 36100-ZH7-003,36100-ZE1-015

We are a store with brand "PerfecTech"sell in a reasonable price and good quality.
Release the Trigger to Shut Down Battery‑Powered Blowers
You’ve already made sure the kill switch is set to “on,” and now you’re ready to shut the thing down. First, press the lock‑off lever with your palm, then simply let go of the trigger. The moment you release it, the EGO blower’s motor cuts power instantly—this is the core of trigger safety. Keep your hand steady and avoid jerking the lever; a smooth release prevents any residual spin. After the blower stops, wait about five seconds before you touch the battery pack. This pause lets the motor settle and avoids a sudden battery lockout when you later remove the pack. Finally, press the battery release button, pull the latch, and store the pack safely. Ensure the blower is on a stable surface before initiating the shutdown. Consider the noise level of electric blowers when planning your shutdown routine.
Move the On/Off Switch to “Off” to Stop a Gas‑Powered Engine
Flipping the on/off switch to “off” instantly kills the gas‑powered engine, and that’s the quickest way to bring a leaf blower or log splitter to a safe stop. You’ll find the switch on the handle near the throttle trigger, labeled “on/off” or “kill.” You can flip it without letting go of your grip, so you stay in control. As soon as you move it to “off,” the ignition cuts out and the engine quits, preventing accidental restarts while you handle the unit.
Remember to check fuel positioning before you start; make sure the tank is sealed and the fuel line isn’t dangling. Regular switch maintenance—cleaning contacts and confirming the toggle moves freely—keeps this shutdown method reliable and avoids the frustration of a stubborn engine that won’t turn off. Ensure the kill switch is set to “on” before attempting to start the engine. Always verify that the fuel‑oil mixture is correctly prepared according to the manufacturer’s specifications. Proper choke adjustment helps the engine start smoothly in cold weather. Electric blowers produce significantly lower decibel levels, making them quieter for residential use.

Primary Ignition Control (NOT Momentary): This is a Maintained/Latching rocker switch that stays in the "ON" or "OFF" position until manually toggled. It is NOT a momentary/spring-loaded switch. Ideal for users who prefer manual control over the engine's power state without holding the button.

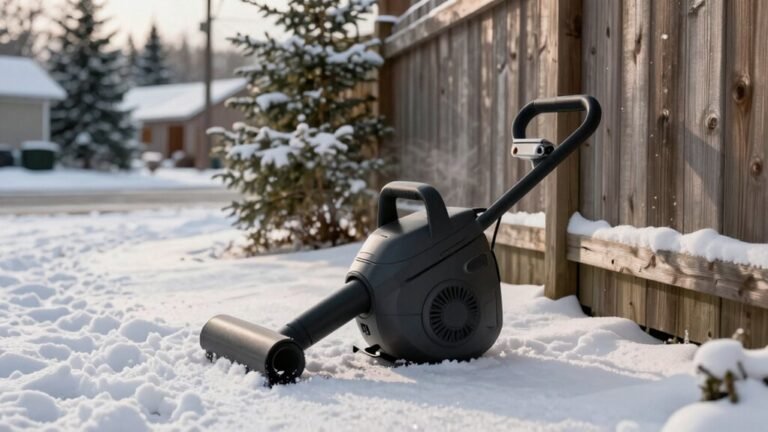
Unleash Dominating Power: Meet your Relxxon blower’s 26cc engine blasting 380 CFM & 180 MPH to clear stubborn leaves, grass clippings & even light snow; conquer yard work in minutes, not hours, and enjoy a pristine landscape all year

Dominating Clearing Force: Our high-output 52cc gas engine delivers a 200 MPH air stream to break the suction of wet, matted leaves. The 550 CFM volume pushes massive debris piles in a single pass to reclaim your weekend
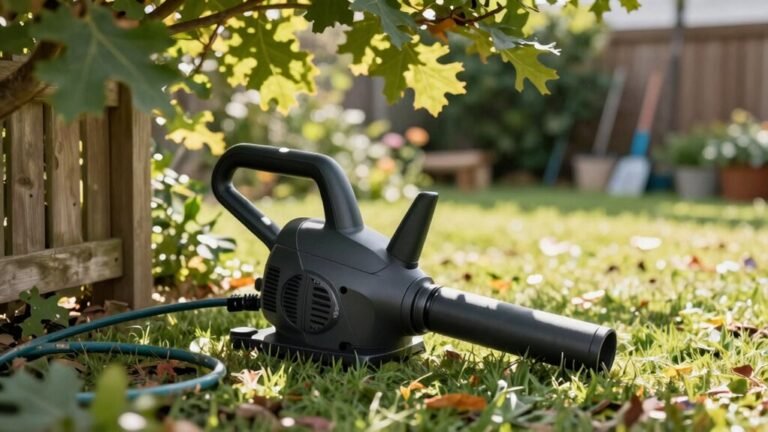
Allow the Engine to Cool Before Setting the Unit Down
Even after you shut the blower off, the engine stays hot for a while, so you’ve got to give it a few minutes to cool before you set it down. The good news is you don’t need a fancy cooling rack—just a flat, heat‑resistant surface and a little patience. Let the engine idle for at least 30 seconds, then feel the housing; if it’s still warm, wait a bit longer. This pause lets turbo oil circulate and lubricate the turbo, preventing premature wear. Slow cooling also reduces metal stress, sparing the cylinder and fins from cracking. Keep a drop cloth handy, wear gloves, and avoid placing the unit on plastic or paint‑finished decks until it’s comfortably cool. Excess fuel can cause the engine to overheat if not cleared promptly. Higher CFM indicates greater airflow power, helping the blower clear debris more efficiently. Carburetor cleaning is essential for maintaining optimal fuel‑air mixture and preventing future performance issues. Regular fluid testing can detect early signs of contamination before they cause serious damage.

【Double Functions as Mat and Pouch】As a mat, the curling iron mat heat resistant for counter protects your makeup table from burnt by hot hair tools. As a pouch, the hot tools holder can store hair styling tools immediately after use even it’s hot. No waiting for cooling down! Ideal for home, work, travel, storage, hair salons and hair stylist on the go.

OVERSIZE SILICONE MAT: Our curling iron mat is designed as 14.2 x 11.0 inches, weight 0.43 lb, larger than other hot pad, extra large size can hold multiple hair styling tools at once, no need to use multiple mats

【1022℉ Fireproof & Heat Resistant】Different from other felt material mats, our heat resistant mats for countertop is made of fiberglass, heat resistant silicone resin coated on both sides, which can provide heat resistance up to 550℃/1022℉. Our heat resistant mats have finely stitched edges. It won't stick, tear, curl or crack from heat
Inspect Safety Devices Before Performing Blower Shutdown
Before you even think about turning the blower off, give the safety devices a quick once‑over—because a well‑maintained unit protects both you and the equipment. First, check the safety harness on backpack models; make sure straps are intact, buckles snap shut, and no frayed webbing could fail under load. Then locate the Emergency stop button—press it to confirm it latches cleanly and releases the engine without hesitation. Scan the guards and shields: exhaust guards should fully cover hot surfaces, intake guards must sit snugly, and blade shields can be undisturbed. Finally, glance at the ID plates; they should be legible, uncracked, and still display current safety warnings. If anything looks off, address it before you shut down. Consider the power advantage of backpack blowers when evaluating safety features for larger tasks. For professional users, the rugged construction of Stihl models often translates into longer service intervals. Ensure you also verify the airflow direction to maintain optimal performance and prevent damage.
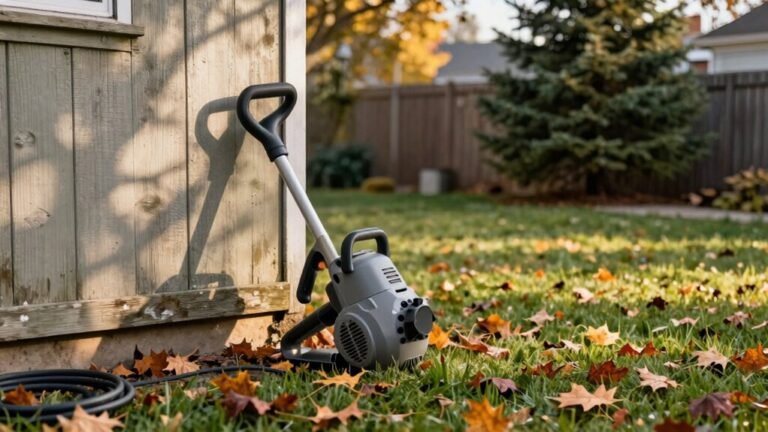
Check Muffler, Intake, and Filter for Debris After Stopping
When the engine finally quiets down, you’ve got a perfect window to make sure the muffler, intake, and filters are free of debris before you store the blower away. First, locate the muffler on the side or front of the engine and undo the spark‑arrestor screen. Pull it off and look for muffler debris—soot, leaves, or metal shavings that can choke exhaust flow. Give the screen a quick wire‑brush or replace it if it’s too dirty. Next, turn the choke on and remove the air‑filter cover. Check the intake for any obstruction; a little dirt or a stray twig can cause a performance drop. Clean around the carburetor with brake cleaner and blast out remaining particles with compressed air. Finally, pull out the foam and paper filters, give them a good shake or a brief wash, and inspect for tears or clogs. Reinstall everything securely, and you’re ready for storage. Air filter cover should be cleaned before reinstallation.

✔✔【HELP PREVENT DRYER VENT FIRES RISK】 The dryer vent cleaning kit removes lint build-up to eliminate a leading cause of dryer vent fires. This is the most valuable tool you can own to ensure the safe operation of your clothes dryer and improve drying machine efficiency. It can also help you save the professional service costs of the dryer vents cleaning.

Air filter for Stihl BG86 BG86C SH86 leaf blower; Stub spark arrestor for Stihl Blower BG86 BG86C SH86 SH86C

We are located locally and will deliver the product to you as quickly as possible(Among them, 42 continents)NOT MADE IN CHINA.One years warranty!
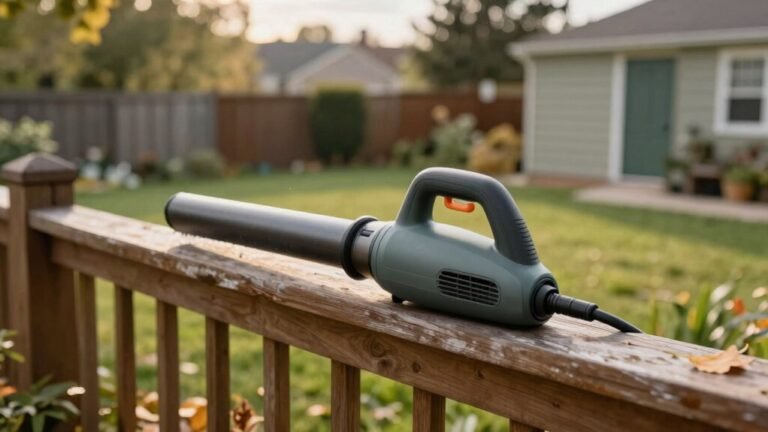
Clean the Nozzle and Clear Clogs Before Storage
After you’ve cleared the muffler, intake, and filters, it’s time to turn your attention to the nozzle—because a clean nozzle is the final piece that keeps your blower humming smoothly all season. First, disconnect the spark plug wire on gas models or unplug the cord/remove the battery on electric ones; safety first. Wipe the exterior with a damp cloth, then use a soft brush or toothbrush on stubborn grime, especially around the vents. Perform a nozzle inspection: look for leaves, grass, or mud blocking the opening and, if needed, open the housing to reach the impeller. Use a brush or gentle burst of compressed air for clog prevention, avoiding forceful scraping. Let everything dry, tighten any loose screws, and you’re ready for storage. Never clean while connected to power source. Leaf blowers can be more efficient than vacuums for large yards, offering faster debris removal. Some models can reach noise levels of up to 90 dB, which is comparable to a lawn mower. Proper fuel‑oil mix is essential for engine longevity and optimal performance.

Efficient Dirt and Dust Removal: Our Air Blow Gun Car Interior Cleaning Tool is designed for quick and effective cleaning, effortlessly blasting away dirt and dust from car surfaces. Experience a thorough cleaning that leaves your vehicle's interior looking spotless.

Leaf Blower Flat Nozzle & Flare Tip Nozzle Kit Compatible with Dew-alt 60V Flexvolt Leaf Blower DCBL772X1, DCBL772

PATENT PENDING UNIVERSAL DESIGN - The Blowerbrush is designed to fit! It has been tested to fit blowers with a diameter of 2-4.5” diameter, which accounts for 95%+ of all blowers from the most popular brands.
Examine Spark Plugs (Gas) or Battery Contacts (Electric) for Wear
If you’re about to store your leaf blower for the off‑season, checking the spark plug (on a gas model) or the battery contacts (on an electric one) is a step you can’t skip. For a gas blower, pull the plug lead, unscrew the plug, and look for spark plug wear—black soot, wet deposits, cracked porcelain, or a burned electrode mean it’s time to replace. Clean the area, verify the gap, and reinstall without over‑tightening. Use a wrench that fits the spark plug boot to ensure proper removal and installation. For an electric unit, disconnect the battery, then inspect the terminals for battery contact corrosion: white or green powder, pitting, or bent contacts. Clean with a baking‑soda solution, tighten any loose terminals, and replace any damaged parts. This quick check keeps your blower ready for the next season. Selecting the correct hydraulic fluid viscosity, such as ISO VG 32‑46 for light‑duty equipment, helps maintain optimal performance during storage. Proper PPE is also essential when performing these inspections.
Tag the Blower “Do Not Use” If Vibration or Damage Is Detected
After you’ve checked the spark plug or battery contacts, the next step is to watch for any abnormal vibration or visible damage while the blower runs. Vibration detection is your early‑warning system; if the engine shudders, rattles, or feels loose in your hands, stop immediately. Inspect the housing, hose, and fan blades for cracks, dents, or loose bolts—any sign of damage means the machine could fail catastrophically. When you spot a problem, apply Damage tagging: grab a bright orange “Do Not Use” tag, write a brief note like “excessive vibration – service,” and attach it securely to the handle or frame. This visual cue prevents accidental re‑use until you or a professional has repaired the blower. A clogged air filter can also cause the engine to vibrate excessively, so be sure to check and clean it regularly. Consider the pressure surge generated by a hydraulic ram as a comparable method for converting fluid motion into useful mechanical work.
Apply Lock‑Out/Tag‑Out and Notify Maintenance When Needed
When you notice abnormal vibration or damage, the first thing you should do is lock the blower out and tag it so no one can accidentally fire it up again. Pull the key, turn the ignition off, and place a bright “Do Not Use” tag on the power switch or trigger. Make sure the tag stays until a repair is finished. Then call your shop or maintenance team—let them know the exact issue and where the unit is. If you’ve got a spill, contact EHS for proper disposal. Keep a note in your Training records; this helps during Emergency drills and shows you’ve followed safety protocol. Your quick lock‑out/tag‑out protects everyone and gets the blower back in shape faster. Release trigger to ensure the blower stops instantly after lock‑out.