Pick the right blower for your yard, then mix a 50:1 fuel‑oil blend if it’s a two‑stroke engine and shake it well. Do a quick safety check: tighten loose bolts, inspect the guard, wear ear and eye protection, and make sure the emergency stop works. For a cold start (<15 °C) pull the choke, purge the air bulb ten times, then pull the rope slowly before yanking quickly; for warm or hot starts use half‑choke or a few primer squeezes. Idle 30 seconds, then go full throttle. If it won’t fire, check the spark plug, fuel line, and carburetor—more tips await if you keep going.
Select the Correct Blower and Prepare the Fuel‑Oil Mix
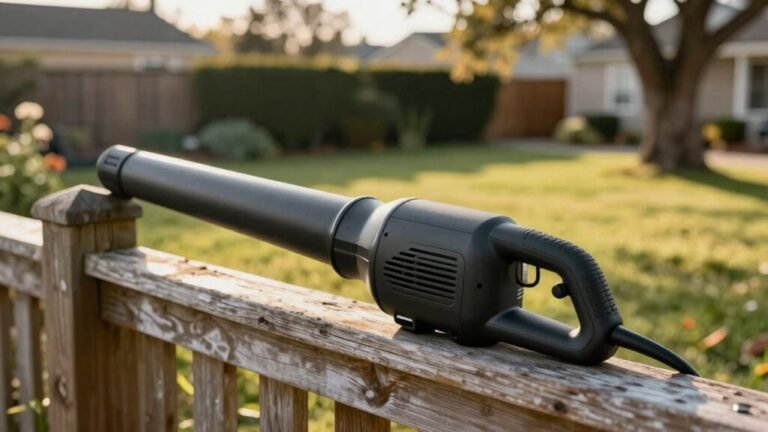
So, how do you pick the right blower and get that fuel‑oil mix spot‑on? First, size your yard. For a small garden, a handheld 100‑400 CFM unit will do, but a medium yard needs 400‑700 CFM backpack power, and a large property calls for 700‑1300 CFM walk‑behind or gas backpack. Next, match CFM‑MPH: a 500 CFM blower with 200 MPH tackles heavy, wet leaves, while 150 CFM at 110 MPH is fine for dry debris. If you go gas‑powered, remember the fuel‑oil ratios—two‑stroke engines need a precise 50:1 mix, otherwise you’ll foul the engine. Measure the oil, pour it into fresh gasoline, shake well, and you’re ready to fire up a correctly sized blower. Backpack blowers provide higher horsepower for larger properties and reduce user fatigue during extended use. Electric blowers are typically quieter, making them a more comfortable choice for residential use. Understanding airflow volume helps you choose a blower that moves enough air to clear debris efficiently.

Dominating Clearing Force: Our high-output 52cc gas engine delivers a 200 MPH air stream to break the suction of wet, matted leaves. The 550 CFM volume pushes massive debris piles in a single pass to reclaim your weekend

Unleash Weekend-Winning Power: Obliterate wet leaves & stubborn debris with 550 CFM & 230 MPH from the 52cc engine; clear a 2-car driveway in under 3 minutes to win back your Saturday for the things you love

POWERFUL BLOWING FORCE: VEVOR NEW gas leaf blower features a robust 2-stroke 63CC engine with 6500 RPM, enhancing fuel efficiency by 20%. This backpack leaf blower can deliver real 220CFM airflow volume and 175MPH speed after repeated testing, ideal for lawn care, yard, patio cleaning
Complete Essential Blower‑Specific Pre‑Start Safety Checks
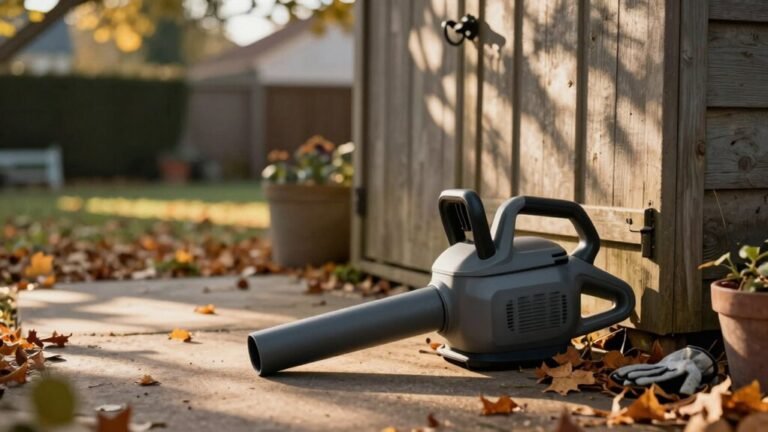
Before you pull the cord or press the button, make sure you’ve run through the essential pre‑start safety checks—because a leaf blower is powerful, but it’s only as safe as the preparation you put into it. First, run your safety checklist: tighten any loose nuts, bolts, or screws, and do a quick guard inspection to confirm all guards are fitted securely. Check the fuel mix and tank for leaks; wear chemical‑resistant gloves while handling fuel. Verify the emergency stop button works and locate the ON/OFF switch. Put on noise protection—earplugs or an earmuff headset—and eye protection. Clear the work area of people, pets, and flammable debris, and stand the blower upright on a level surface. Finally, confirm you’re alert, hydrated, and physically ready before you start. Also, inspect the intake area to ensure it is free of debris and obstruction. Remember to follow the proper shutdown procedure to prevent fuel spillage and engine damage. Ensure the spark plug is clean and properly gapped for optimal ignition. Choose the correct nozzle to match the task and adjust speed for efficient leaf removal.
Choose the Correct Starting Method (Cold, Warm, Hot)
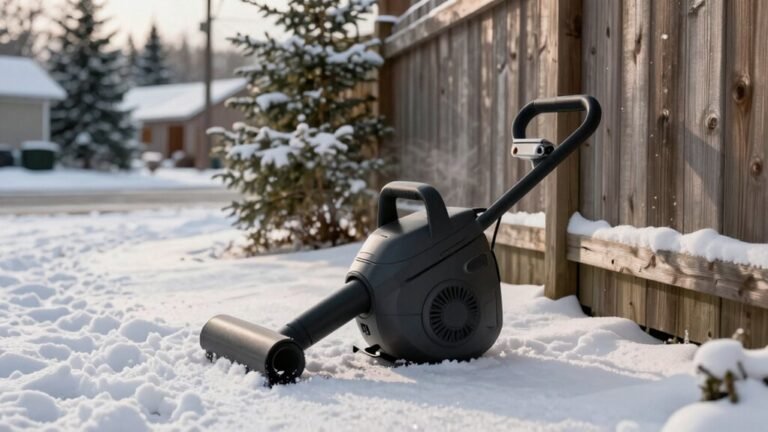
When the temperature’s down low, the air’s thick, or the engine’s just been sitting idle, you’ll need a different start‑up routine than you would on a warm, sunny afternoon. First, consult the temperature guide: below 15 °C you’ll use the cold method, between 15 °C and 32 °C the warm method, and above 32 °C the hot method. For cold starts, set choke selection to full choke, purge the air bulb ten times, and pull the rope slowly until resistance, then yank quickly. Warm starts need half choke, throttle held, and a quick pull. Hot starts call for a few primer squeezes, choke in the run position, and a firm pull. Adjust the choke gradually once the engine fires, and you’ll be ready to clear those leaves. Ensure the engine is cold before beginning any start procedure. Stihl’s fuel‑oil mix is essential for optimal performance. Before starting, verify the spark plug condition to avoid misfires.

Save Hours With 63cc Power – Blast through wet leaves, debris, or light snow at 205 MPH. Our 2-stroke engine and 665 CFM airflow conquer large lawns or commercial sites fast, cutting cleanup time while delivering unstoppable performance

【 Material】Made of plastic and sponge, durability and long-lasting use.

Compatibility: This choke knob is compatible with STIHL BR800, BR800C, BR800X backpack blower.
Match the Starting Method to the Appropriate Handheld or Backpack Technique
Matching the right starting method to the technique you’ll use—whether you’re holding a lightweight handheld blower or strapping on a backpack unit—makes the whole process smoother and safer. For a cold‑start handheld, use a firm Handheld Grip on the nozzle while your other hand pulls the starter rope. Keep the nozzle pointed down, engage any throttle interlock, and stay clear of bystanders. If you’re on a warm‑start backpack, focus on Backpack Stabilization: plant one foot against the baseplate, strap the unit securely, and hold the nozzle away from your body. Pull the starter handle with your right hand after stabilizing, then squeeze the throttle. The good news is each method matches the engine’s temperature, so you avoid stalling and get a clean start. Ensure fuel connection is secure before ignition. Perform a quick pre‑operation inspection to verify the air filter and spark plug are clean and in good condition. Check the oil‑fuel mixture to guarantee proper lubrication and combustion. Electric blowers produce zero emissions and can be a quieter alternative for small yards.

Unleash Dominating Power: Meet your Relxxon blower’s 26cc engine blasting 380 CFM & 180 MPH to clear stubborn leaves, grass clippings & even light snow; conquer yard work in minutes, not hours, and enjoy a pristine landscape all year

【 Powerful Cordless Blower】The leaf blower cordless is equipped with high-efficiency turbo motor, delivering 60 m/s hurricane-force winds,far stronger than traditional leaf blowers.The snow blower instantly penetrates damp debris and stubborn dust, forcefully blasting away leaves, snow, and other debris efficiently, keeping yards, lawns, driveways clean and tidy.

【Powerful & Efficient Turbine Motor】Experience next-level blowing performance with our cordless leaf blower, engineered with turbine motor that deliver up to a maximum speed of 800,000 RPM and wind speeds of up to 65 m/s.You’ll get more power, longer motor life, lower noise than traditional handheld blowers
Idle the Engine for 30 Seconds Before Full‑Power Operation
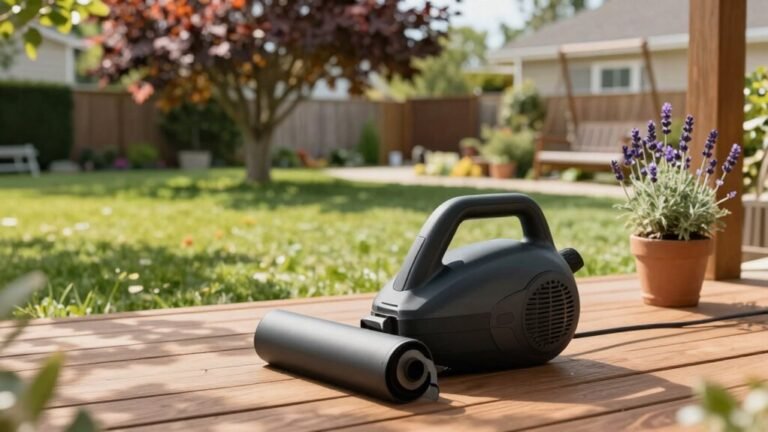
You’ve just got the blower in your hands and the starter rope is still humming in your grip. Let it idle for about 30 seconds before you yank the throttle. That short warm‑up gets oil moving through the 2‑cycle engine, lubricating the piston and crankshaft so you won’t hear a grind when you go full‑power. It also stabilizes the fuel‑air mix, preventing the engine from stalling as you add load. While it’s idling, glance at the exhaust tip—if you notice a loss of punch, that’s a cue for spark‑arrestor cleaning. A quick brush removes carbon that can choke airflow. The good news is that this brief idle protects your engine and gives you a smooth, reliable start every time. If the spark‑arrestor becomes clogged with soot, it can cause the engine to stall. The fan’s centrifugal action creates a high‑velocity airflow that efficiently dislodges debris. Choosing a model with a higher airflow rating can further improve debris clearance. Regularly inspect the fuel line for blockages to prevent ignition failure.
Fix Common Starting Problems and Troubleshoot Quickly
If your leaf blower refuses to fire up, the culprit is usually one of a handful of easy‑to‑check parts, and you can sort them out in a few minutes before it gets to the point of calling a mechanic. First, pull the spark plug and look for carbon, corrosion, or wetness—clean it with a wire brush or replace it if it’s fouled; that’s a quick performance tuning win. Next, check the fuel filter and lines; stale fuel clogs the filter and starves the carburetor, so drain the old mix and do fresh fuel maintenance with the correct oil‑to‑gas ratio. If the carburetor looks gunky, spray cleaner, disassemble, and rinse. Finally, inspect the air filter and spark arrestor—replace a dirty filter and clear any soot. A clean ignition coil and a functional recoil spring seal the deal, getting you back to blowing leaves in no time. Also, verify the rewind spring is intact and properly tensioned to ensure the starter rope recoils correctly. For a thorough clean, consider using a carburetor cleaning solvent to dissolve stubborn deposits in the jets and passages. A clogged air filter can also cause the motor to stall when you give it gas. Follow the manufacturer’s guidelines for pre‑operation checks before each use to maintain optimal performance.


𝙇𝙊𝙉𝙂 𝙃𝙄𝙎𝙏𝙊𝙍𝙔 - In 1961, Zhuzhou TORCH spark plug. Co.,ltd. was established at Lukou, Zhuzhou, CHINA. In 1993,TORCH was listed as Shenzhen stock exchange. In 2003,TORCH has become china’s largest spark plug production and R&D base.Subsequently, TORCH bought the full set of equipment and technical patent from DELPHI U.S.A. Spark plug factory, ride into the forefront of the world!