First, make sure the jack’s on a stable, level surface and wear gloves. Loosen the release valve, remove the cover‑plate screws, and locate the filler plug—usually a Phillips‑head screw or rubber cap on the cylinder side. Drain the old oil into a bucket, then, using a funnel or syringe, slowly pour the right‑weight hydraulic oil (20‑30 cSt) into the port, keeping the level just below the plug edge. Pump the handle 10‑15 times to push out air, watch for bubbles, and tighten the plug once they’re gone. Finally, test a lift‑and‑hold cycle to confirm steady pressure—if you keep going, you’ll uncover more tips for perfect maintenance.
Gather Tools & Prepare the Work Area for Bleeding a Hydraulic Jack
Ever wonder why a hydraulic jack sometimes spits out air instead of oil? You’ll avoid that by gathering the right tools and prepping a safe work zone. First, grab a Phillips and flat‑head screwdriver, a small funnel or syringe, non‑detergent 22‑weight hydraulic oil, and clean rags. Lay the jack on a flat, stable surface—surface stability prevents tipping while you bleed it. Wipe any excess fluid right away; slip hazards are a real danger. Make sure the area is well‑lit and free of debris, so you can see the tiny filler hole. The good news is, with tool safety in mind, you’ll keep contaminants out and the jack ready for a smooth oil refill. Locate the bleeder screw at the highest point of the piston before ensure it is open before beginning the bleed process. Always inspect the hydraulic fluid for contamination before refilling to ensure optimal performance. Regular fluid testing helps catch early signs of degradation before they cause failure. Follow the bleed‑procedure steps to efficiently remove trapped air from the system.

【Size】:The thickness of each jack oil plug is appropriate, the design is lightweight, and the appearance is exquisite, suitable for installing 8mm/0.31 inch holes.

PACKAGE QUANTITY: Each pack contains 12 rubber filling plugs, a sufficient quantity to meet your project needs. Rest assured that you have enough plugs on hand for replacements or larger projects

This Auto Funnel is easy to grip, non-slip and easy to use; Strainer filters your liquids
Find the Reservoir Plug on Your Hydraulic Jack
When you’re ready to top off the jack, the first thing you’ve got to do is locate the reservoir plug, and the good news is it’s usually right where you’d expect—on the side of the hydraulic cylinder once you’ve taken off the cover plate. First, lower the jack completely and open the release valve, then unscrew the four screws holding the cover. Lift the plate carefully; you’ll see the reservoir location as a small port on the cylinder’s side. For plug identification, look for a Phillips‑head screw or a rubber cap—some models even let you pull it out with your fingers. A flashlight helps, especially on older jacks where the plug sits low. Once you spot it, you’re set to proceed. Ensure the jack is in the non‑pump position before opening. Check fluid level using the dipstick or sight gauge to confirm the hydraulic fluid is within the recommended range. Proper seal installation is essential to prevent leaks and maintain optimal performance. Understanding hydraulic pressure is crucial for safe and effective operation.
Drain the Old Oil From Your Hydraulic Jack
The good news is that draining the old oil from your hydraulic jack is a quick, mess‑free job once you’ve got the right setup. First, put the jack on a level surface and lower the saddle fully. Open the release valve counter‑clockwise to relieve pressure, then remove any obstructing handle. Locate the vent or fill screw—often under the handle cover—and pry it out with a flat‑head screwdriver. Place a sturdy 5‑gallon bucket that offers container compatibility beneath the jack and let the oil flow out. Tilt the jack slightly if needed, and wipe the interior clean once it’s empty. Pump the jack a few times with the valve open to bleed air, then close the screw. Finally, follow local regulations for oil disposal and wear gloves to protect your skin. Regular maintenance ensures optimal performance and longevity. Always use absorbent pads to prevent any stray drops from spreading on the floor. When cleaning up spills on concrete, use a spill containment barrier to protect the surrounding environment. Be aware that prolonged exposure to hydraulic fluid can cause skin irritation and respiratory issues, so proper ventilation and protective gear are essential.

Reusable Rubber Material: Our 12 pack floor jack parts are crafted from high-quality rubber, sturdy and reusable, is a good alternative. These hydraulic floor jack fit hole of 5/16"

APPLICATION: Suitable for most 2-ton vertical jack on the market, Providing you with efficient repair experience

【Material】:The hydraulic jack seal kit is made of high-quality nylon, with good impact resistance and oil resistance, not only not easy to deform, but also in the hydraulic oil environment to maintain stable physical properties, effectively protect the jack from damage and extend the life of the equipment.
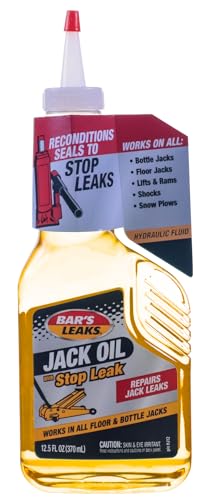
Add Fresh Hydraulic Jack Oil to Bleed the System
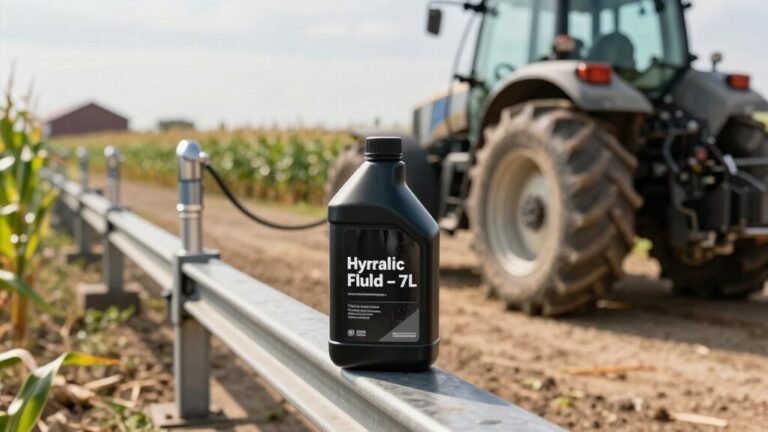
If you’ve already drained the old oil, the next step is to add fresh hydraulic jack oil and bleed the system so the ram moves smoothly again. Start with proper oil selection: choose a dedicated hydraulic jack oil, not motor oil, and look for a formula with stop‑leak additives. Check oil viscosity; a medium‑weight grade (around 20–30 cSt) works best for most floor jacks, giving enough flow without foaming. Open the release valve counter‑clockwise, lower the ram, and clean the filler plug area. Use a syringe or small funnel, pour slowly, then pump the handle 10–15 times to push air out. Keep adding until the oil level sits just below the filler hole edge, then reseal the plug tightly. Manual shows the exact fill‑hole location and warns against removing the essential plug. Proper hydraulic fluid maintains temperature stability to protect the system under varying loads. Selecting the right hydraulic fluid also involves considering anti‑wear additives to extend equipment longevity. For heavier-duty applications, a fluid viscosity of 68–100 cSt can provide extra protection.
Stops Current Leaks And Prevents Future Leaks

MAG 1 Hydraulic Jack Oil is formulated with oxidation stable base oils, rust inhibitors, anti-wear agents and anti-foam agents to provide protection for hydraulic jack and lift equipment.

Reduces the operating temperature of hydraulic systems
Purge Air From Your Hydraulic Jack
Adding fresh oil is only half the battle; now you need to chase out the air that’s trapped inside the jack. First, fully open the release valve counter‑clockwise and lower the ram until it won’t rise when you pump. Loosen the filler plug just enough to let pressure escape; you’ll see bubbles dancing in the reservoir. Then, with the plug removed, pump the handle rapidly five to ten times while the release valve stays open. Follow with six to eight quick pumps, then ten to fifteen, watching the pressure gauge for steady readings. Flex the bleed valve with a flat‑head screwdriver, push the rubber plug aside, and let any remaining air hiss out. Keep pumping until no bubbles appear, then tighten the plug and close the release valve. This air safety step protects lift power and prevents hazardous leaks. Identify the rubber valve at the oil fill hole and push it sideways to release trapped air. Properly bleed a hydraulic cylinder ensures the system operates smoothly and avoids premature wear. Using a rod seal made of polyurethane can further reduce wear when removing air from the system. Hydraulic fluid can become corrosive if it contains high water content, so regular testing helps prevent metal degradation.

Can Be Changed Several Times: 2 x 60ml Bottles mineral oil brake fluid

APPLICATION: Suitable for most 20-ton vertical jacks to meet your multi-functional maintenance needs

13 Pcs Durable Brass Connectors: Engineered for toughness and reliability, won’t crack or degrade over time. It can be used compatible with SHIMANO, TEKTRO, MAGURA, TRP and most mineral fluid hydraulic brake systems
Check the Hydraulic Jack Works and Tighten the Plug
Once you’ve chased all that air out, it’s time to make sure the jack actually works and that the filler plug is snug. First, set the jack on a stable, level surface and do a quick seal inspection—look for any warped or hardened seals around the filler cap and bleeder valve. Then, pump the jack up to its normal height and watch the lift; if it drops, adjust the release bracket for a millimeter or two of play. Check the oil level to ensure it’s adequate before testing.] Next, perform a pressure test by holding the jack at max lift and feeling for steady resistance; any sudden loss means you need to tighten the plug. Finally, screw the oil filler plug firmly, re‑assemble any removed covers, and give the jack one more lift‑and‑hold cycle to confirm everything’s solid.