Pick the right seal by matching your cylinder’s model, pressure rating, and rod size, then grab a dynamic PTFE or polyurethane seal and the proper grease. Block power, bleed the system with a pressure‑controlled valve, and make sure the pressure reads zero before you remove the head. Tap the head out, pull the old seal with the kit’s removal ring, clean the bore with a compatible solvent, and wipe it dry. Warm the new seal in grease, slide it in flush, re‑install the piston, torque the locknut to spec, and run a low‑pressure cycle to bleed air before you pressurize fully and check for leaks—keep going and you’ll uncover the finer details.
Find the Right Seal Type and Part Number for Your Cylinder
When you’re hunting down a replacement seal for your hydraulic cylinder, the first thing to nail down is the exact type and part number that match your machine’s design. Start with a part number lookup in the manufacturer’s catalog—enter your cylinder’s model, single or double‑acting status, and pressure rating. Then, focus on seal material selection: PTFE for high wear, polyurethane for moderate pressure, or a flexible lip for low‑to‑medium loads. Measure the rod diameter, bore size, and groove depth; those dimensions dictate whether you need a piston, rod, or wiper seal. Remember, static O‑rings won’t work where the rod slides, so pick a dynamic seal that matches the motion. The good news is once you have the right specs, the part number is usually printed on the old seal or listed online, making the replacement straightforward. Wear rings also help maintain proper alignment and reduce friction during the seal replacement process. Always check the hydraulic fluid level before starting the seal replacement to ensure the system is properly lubricated. Maintaining the correct viscosity range is essential for optimal power transmission and wear protection.

PREMIUM QUALITY COMPONENTS: Each seal and component is manufactured using high-grade materials engineered for 2500 PSI performance. Ensures reliable sealing and extended service life under demanding industrial applications.
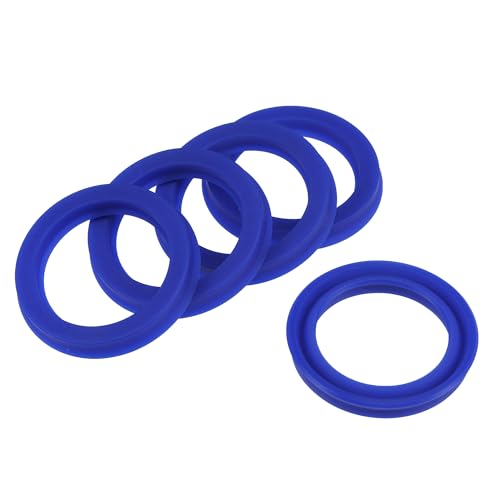
√ MULTIPURPOSE - Our oil seals are great for industry, and workshops, suitable for industrial hydraulic cylinders, cylinders, hoists, guide moving rods, piston pull rods, and one way piston seals in static pressure.

✅The seal kit is used to rebuilt Speeco design or compatible other brand cylinders, such as Husky, Split Master, Oregon, Dirty Hands tool and after marker cylinders oversea made with same Speeco design (but may not fit 20 years or older design).
Gather Tools for Hydraulic Cylinder Seal Replacement
If you’re about to pull apart a hydraulic cylinder, the first thing you’ll notice is that you can’t just wing it with a wrench and a screwdriver—you’ll need a handful of specialized tools to keep everything from getting scratched or bent. Start your Tool inventory with an adjustable gland nut wrench; it lets you remove and reinstall the gland nut with the right torque, protecting the threads. Add a set of U‑seal installer tools—choose the size that matches your piston diameter for smooth, damage‑free seal insertion. Lock ring pliers are essential for extracting external retaining rings without marring the steel. Pick tools that let you pry out old seals, O‑rings, and backup rings cleanly. Finally, grab a rubber mallet, screwdriver, punch, pliers, emery cloth, and a torque wrench for general disassembly and reassembly. Verify Seal compatibility before you begin, so each tool matches the seal size and cylinder dimensions you’re working with. The Hydraulic Seal Tool enables two‑hand operation for faster, more even seal placement. Properly bleeding the system before reassembly removes trapped air that could cause uneven pressure and premature wear. Hydraulic fluid level checks should be performed regularly to prevent damage and maintain optimal performance. Follow the step‑by‑step guide for bleeding a hydraulic cylinder when a dedicated bleeder valve is unavailable.

6 Piece Seal Twistor and Seal Pick Tool Set. Includes: 4 Sizes Seal Twistors Tools, 1 Surface Mountable Twistor Handle Block, and 1 Two Sided Seal Pick & Hook Multitool.

【Universal Compatibility】 4 Size Hydraulic Seal Installers with Surface Mountable Twistor Handle Block and 2-Angles Seal Pick Multitool is a quick, safe and complete installation tool for flexible rod seals. 4 sizes to cover most rod seal installation job from 0.7" up (Rod Diameters): (XS) 20-30mm (0.7”-1.187” Rod) gland hole; (S) 30-50mm (1.187"-2" Rod) gland hole; (M) 50-70mm (2-2.75" Rod) gland hole; (L) 70-165mm (2.75"-6.5" Rod) gland hole.

【Universal Compatibility】 Hydraulic Seal Installer and pick and hook set are quick and safe installation tools for flexible rod seals. 3 sizes to cover most rod seal installation job from 0.87" up (Rod Diameters): (S) 22-40mm (0.87"-1.57" Rod) gland hole ; (M) 40-70mm (1.57-2.75" Rod) gland hole; (L) 70-165mm (2.75"-6.49" Rod) gland hole.
Depressurize and Disconnect the Cylinder Safely
You’ve got the right tools gathered, now it’s time to make sure the cylinder isn’t under any hidden pressure before you start pulling anything apart. First, follow safety protocols: block the power source, turn off the engine, and cycle the levers forward and reverse with the key on for electric‑over‑hydraulic valves. This releases trapped pressure and lets you check the plunger; if it stays extended, you still have residual pressure. Next, set up load supports—crib the loads and use mechanical blocks rated for the cylinder’s capacity to prevent a sudden shift. Attach the Enerpac CT604 bleed tool, hand‑tighten the adapter, then turn the knob clockwise to slowly vent the system. Do pressure monitoring throughout; verify zero energy by pushing the male coupler on a clean surface. Once you feel no resistance, you’ve safely depressurized and can disconnect the cylinder. Understanding the hydraulic ram principle can help you appreciate how pressure differentials drive the system. Adding a pressure‑controlled flow valve can further stabilize the bleed process. Selecting the right rod seal material enhances wear resistance in abrasive wood‑chip environments.
Disassemble the Cylinder for Seal Replacement
Before you start pulling anything apart, make sure you know exactly what kind of cylinder you’re dealing with—wire‑ring, threaded‑gland, or a basic design—because each type has its own quirks and the right sequence of steps. First, cap the inlet and outlet pipes to keep dirt out, then loosen the clamp and remove the head. Use a rubber mallet and a punch to tap the head into the tube until the groove shows. Slip the plastic removal ring from the seal kit into the groove to help position the next component. For wire‑ring cylinders, pull out the steel rings; for threaded‑gland types, unscrew the end cap. Keep an eye on seal wear and note the torque specs before you loosen any lock nuts. The lift seal on the Kamazu D51 is critical for restoring blade lift capability. Understanding hydraulic pressure helps prevent over‑tightening during reassembly. Selecting the proper hydraulic fluid ensures optimal lubrication and protects the new seal from premature wear.

【Universal Compatibility】 Hydraulic Seal Installer is a quick and safe installation tool for flexible rod seals. 3 sizes to cover most rod seal installation job from 0.87" up (Rod Diameters): (S) 22-40mm (0.87"-1.57" Rod) gland hole ; (M) 40-70mm (1.57-2.75" Rod) gland hole; (L) 70-165mm (2.75"-6.49" Rod) gland hole.

Application -Seal Kit Compatible with HC5340, HC5341, HC5342, HC5343, HC5344, HC5345, HC5346, HC5347, HC5348, HC5358, HC5365, HC5375, HC5394, HC5445, HC6750, HC6751, HC6752, HC6753, HC6754, HC6755.

Multiple Size:#4 (1/4" Flat Face), #6 (3/8" Flat Face), #8 (1/2" Flat Face), #10 (5/8" Flat Face), #12 (3/4" Flat Face), #16 (1" Flat Face), #20 (1-1/4" Flat Face), #24 (1-1/2" Flat Face), #32 (2" Flat Face) O rings.
Inspect Cylinder Components Before Seal Replacement
Before you start swapping out seals, take a good look at everything that’s already in the cylinder—because spotting a bent rod or a scored bore early can save you hours of back‑and‑forth later. Begin with a surface inspection of the rod, barrel, and piston. Run your fingers along the interior tube; any rough spots, scoring, or corrosion show up instantly. Check the rod for bends, scratches, or rust, and verify the barrel isn’t bulging or oversize. Look for nicks in the chrome plating and uneven wear on existing seals, which hints at side loading. Perform a wear assessment by feeling for burrs, measuring straightness, and noting any pitting. If anything feels off, note it before you move on to the next step. Also, verify that the wear band is intact and properly seated to prevent metal‑to‑metal contact. Monitoring fluid discoloration during inspections can also reveal early signs of contamination. Use absorbent pads to quickly contain any accidental fluid leaks that may occur during the inspection process. Understanding hydraulic fluid corrosion helps you spot early damage before it spreads.
Clean Cylinder Surfaces Prior to Seal Replacement
After you’ve inspected the rod, barrel, and piston for any bends, scoring, or rust, the next step is to get those surfaces spotless before you fit the new seal. First, choose a cleaning surface selection that won’t scratch the metal—soft‑bristled brushes or lint‑free cloths work best. Spray a compatible hydraulic‑cylinder cleaner, let it dwell, then wipe away grime. For stubborn deposits, a gentle abrasive pad can be used, but only if the manufacturer says it’s safe. Rinse with clean, low‑pressure water and dry thoroughly; any moisture invites corrosion. Finally, run a contamination control check: use a clean finger or a UV‑light lamp to spot residual oil or particles. If you see anything, repeat the wipe‑down until the surface looks gleaming and feels slick. This guarantees the new seal seats properly and lasts. Use a white‑bristle brush for light pressure cleaning of aluminum surfaces to avoid deep scratches. Always wear protective gloves when handling hydraulic cleaners to prevent skin irritation. In extremely cold climates, consider using a low‑viscosity hydraulic fluid to reduce the risk of fluid solidification. Remember to set up a containment barrier to prevent any spilled fluid from reaching the floor or drainage system.
Lubricate and Install New Hydraulic Cylinder Seal
You’ve already got the cylinder surfaces spotless, so now it’s time to get the new seal ready for a smooth fit. First, check the seal material—whether it’s nitrile, polyurethane, or a fluorocarbon blend—so you can pick a compatible lubricant. The good news is a petroleum‑based grease with the right lubricant viscosity protects the seal from abrasion while you work. Squeeze a dab onto a lint‑free cloth, then rub it in with your fingers until the whole sealing surface is evenly coated. Warm the seal slightly in the grease if it’s a bit stiff; that improves elasticity without overheating. Slide the seal into its groove, making sure it sits flush, then re‑install the piston or rod, keeping everything aligned as you go. Verify cylinder pressure is fully released before starting the lubrication process. Using the correct high‑pressure fluid ensures optimal seal performance and longevity. Always store hydraulic fluid away from ignition sources because many fluids are flammable liquids and can ignite under high temperature conditions. Selecting the proper viscosity grade helps maintain consistent performance across temperature fluctuations.

NSF Approved:Food grade silicone grease,odorless and colorless,no chemical contamination to drinking water.Retains its consistency in temperatures from -40° to 400° f,no pigment for clean use
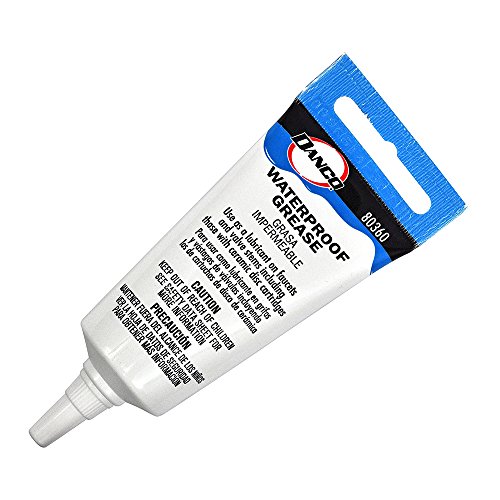
PLUMBERS FAUCET AND VALVE GREASE: Ideal for lubricating faucet stems valves and cartridges when repairing a leaky faucet

STOP LEAKS ON POOL FILTERS & PUMPS Fix leaking pool filter lids, pump baskets, and union fittings by restoring dry or worn O-rings. Designed as a pool O-ring grease to create a smooth, watertight seal and eliminate air leaks.
Tighten Fasteners and Add Thread Locker After Seal Installation
Even if the seal’s already snug, the real secret to a leak‑free cylinder is getting those fasteners tight the right way and sealing the threads with a good thread‑locker. Start by cleaning the piston nut and end‑cap threads, then apply a thin bead of Loctite before you seat the locknut. Use a torque wrench to hit the size‑specific value—usually 6 lb‑ft for the set screw and the chart‑prescribed torque for the piston locknut. Follow a criss‑cross pattern, tightening a little, then turning the nut an extra angle to hit preload near the material’s yield point. After the initial torque, do a quick Torque verification; if the numbers are off, re‑torque. Finally, let the thread locker cure before you move on. Always inspect the hydraulic fluid for contamination before reassembly to prevent premature seal failure.

Bore:1.5"(40mm),OD:2"(50mm),Stroke:6inches(150mm),Rod:1"(25mm),Retracted:15"(380mm), Extended: 20.8"(530mm), Pin holes: 0.78"(20mm)

【About Size】 - 7/16-20 Thread Inlet; 3/8-24 Thread Outlet; 13" Handle Lever; fit for Master Cylinder 0.7

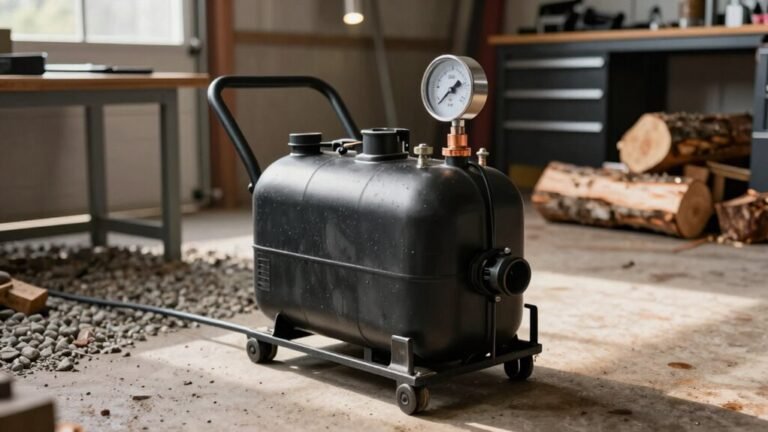
Double-acting steel-welded design creates pressure up to 2500 PSI
Re‑pressurize, Test, and Troubleshoot After Seal Replacement
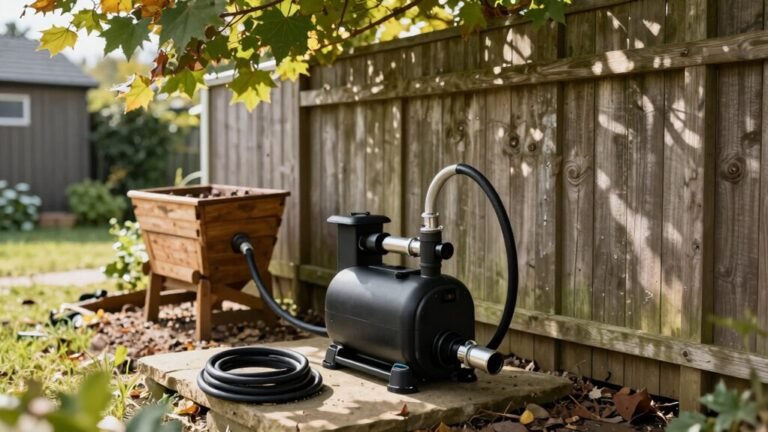
Now that the seal’s in place, you need to get the cylinder back up to pressure and make sure everything’s running smooth before you put it to work on your wood chipper or log splitter. Follow the pressure‑pressurize procedures: start with low‑pressure cycling, slowly extend and retract to push trapped air toward the ports, and listen for the normal hissing as air escapes. Open any bleed nipples until only steady fluid flows, then build to full working pressure. Run a full‑pressure leak inspection, watching the gland, end cap, and ports for drips. Do a drift test by lifting a load and shutting the machine off; the cylinder should hold. Use the troubleshooting checklist to pinpoint leaks, erratic motion, or pressure spikes before you resume regular use.
Maintain the Cylinder Seal to Extend Service Life
If you want your hydraulic cylinder to keep working smoothly season after season, treating the seal like a delicate piece of equipment is key. First, wipe down the cylinder before any maintenance to clear dirt and debris. After you remove the old seal, clean the sealing surfaces thoroughly; any residue will scar the new seal and cut its durability. Polish the piston rod and hone the barrel to a smooth, cross‑hatched finish, then deburr edges so the seal slides in without friction. Check the seal for wear, alignment, and contaminants before reinstalling, and verify seal material compatibility with your hydraulic fluid. Keep fluid clean at ISO 17/15/13 levels, use compatible fluids, and replace filters regularly. These habits boost seal durability and extend service life.