First, park your chipper or splitter on level ground and let the engine cool a bit, then grab a clean rag, a sturdy wrench, and your safety glasses. Pull the dipstick, wipe it clean, re‑insert fully, and read the level—aim for about seven‑eighths full or the “red‑dot” mark on the sight glass if you’re using that. If it’s low, add the right grade (AW32) slowly through the fill port until the dipstick shows the correct range, but don’t overfill. After topping up, bleed any air by opening the highest bleed valve and cycling the cylinders, then log the final reading; you’ll avoid low‑pressure problems and keep the machine humming. Keep going and you’ll uncover the tricks for avoiding skewed readings and troubleshooting pressure loss.
Why Regular Hydraulic Checks Matter for Wood Chippers
When you’re cranking up a wood chipper, a tiny dipstick check can be the difference between smooth shredding and a costly breakdown. A quick fluid peek lets you spot contaminated oil before it hits the 3% particulate threshold, so you can flush the system and avoid a major failure. The good news is that daily checks catch leaks early, keeping pressure steady and preventing wear on gears and pistons. What most people don’t realize is that clean hydraulic fluid reduces friction, extending component life and delivering real cost savings. By treating maintenance as a habit, you’re doing wear prevention, cutting downtime, and keeping your chipper humming for years without expensive repairs. Regular checks are essential to ensure the correct oil level for optimal machine performance. Monitoring for moisture ingress helps catch early signs of fluid degradation before it affects system pressure. Properly inspecting the reservoir’s sight gauge can also reveal air bubbles that indicate a need for system bleeding. Understanding the flammability risk of hydraulic fluid helps you store and handle it safely, reducing fire hazards on the job site.
Gather Tools & Safety Gear
Before you even think about pulling the dipstick or checking the pressure gauge, make sure you’ve got the right gear in hand. Grab a sturdy wrench, a clean rag, and a flashlight—these are the basics for tool safety. Then pull on safety glasses, heavy‑duty gloves, and steel‑capped boots; they’re your first line of defense against flying chips, splinters, and heavy logs. Slip on ear plugs if the splitter roars; hearing protection keeps you focused. Before you start, do a quick gear inspection: check lenses for scratches, test glove grip, verify boot laces, and confirm ear muffs seal properly. A thorough pre‑use check prevents accidents and lets you work confidently. Remember that prolonged exposure to hydraulic fluid can cause skin irritation and respiratory issues, so always use proper ventilation when working in enclosed spaces. Also, be aware that air in the system can cause spongy cylinder movement and reduced efficiency. Properly bleeding the cylinder eliminates air pockets that can degrade performance.

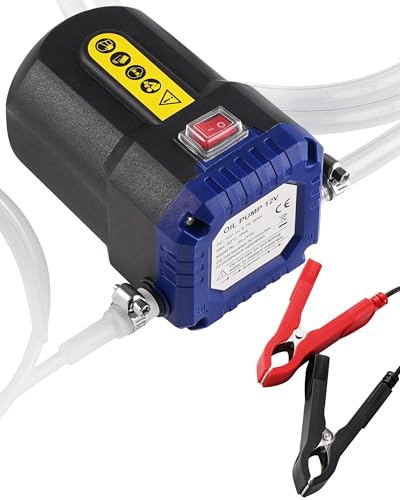
Built-in Power Switch – Thoughtfully designed with a one-touch emergency stop to prevent spills from hose slip-offs or overfilling. Helps avoid accidental start-ups and reduces plug-in arcing to extend motor life.

Used Book in Good Condition
Read Wood Chipper Hydraulic Fluid Level With Dipstick
Grab your wrench and flashlight, then head straight to the hydraulic oil dipstick on your Vermeer chipper. Pull the stick out, wipe it clean on a paper towel, and re‑insert it fully. Pull it again and read the level against the markings; you want the oil sitting around the seven‑eighths full mark. If it’s low, add fluid through the fill port until the dipstick shows the correct range. Remember to perform dipstick calibration each week—temperature compensation can shift the reading, so check when the engine is warm but not hot. A quick visual check before every job keeps the system humming and prevents costly wear. Check the fluid level via back‑panel dipstick. Using the right hydraulic fluid type helps protect metal components from corrosion. Proper pressure monitoring ensures the system operates within safe limits and avoids premature component failure. Selecting a fluid with the proper viscosity rating is essential for maintaining consistent performance across temperature variations.

Reduces the operating temperature of hydraulic systems

Meets and exceeds all OEM specifications for power shift transmissions
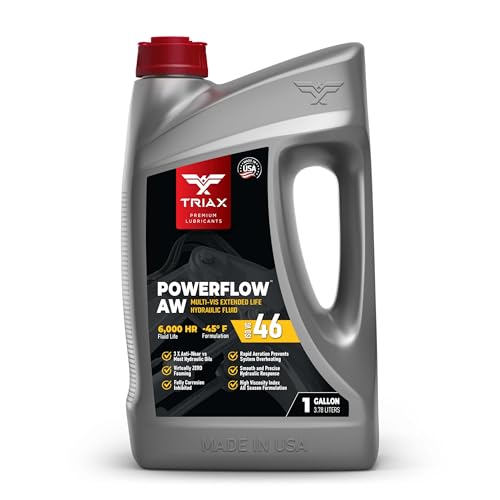
Exceptionally Long Life: Designed for 6,000-hour severe service with high oxidation resistance, providing up to 3 times the lifespan of standard fluids, minimizing the need for frequent replacements
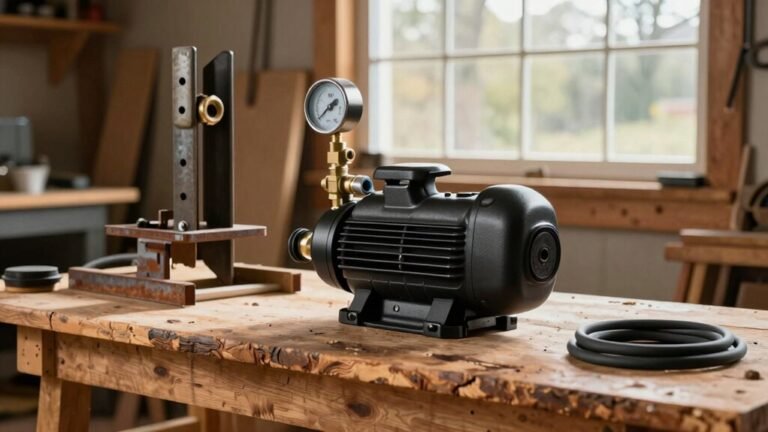
Read Wood Chipper Hydraulic Fluid via Sight Glass (Cold Engine)
If you’ve ever tried to eyeball the hydraulic fluid on a wood chipper with a cold engine, you’ll quickly learn why the sight glass is your best friend. First, park the machine on flat ground and let the engine chill; cold‑engine verification stops thermal expansion from skewing the reading. Clean the glass, then line your eyes level with it. Look for the dull fluid line at the bottom of the sight glass—if it sits between the low mark and the red dot, you’re good. The red dot is your sight glass calibration target; a shiny metal surface above it means you haven’t overfilled. If the fluid is below the bottom mark, stop work and add fluid before operating. This quick visual check saves you from costly hydraulic failures. Proper fluid viscosity ensures optimal lubrication and temperature stability, which directly impacts equipment durability. Absorption pads can be used to safely contain any spills that occur during the inspection. Understanding hydraulic hose pressure is essential for maintaining safe operation.
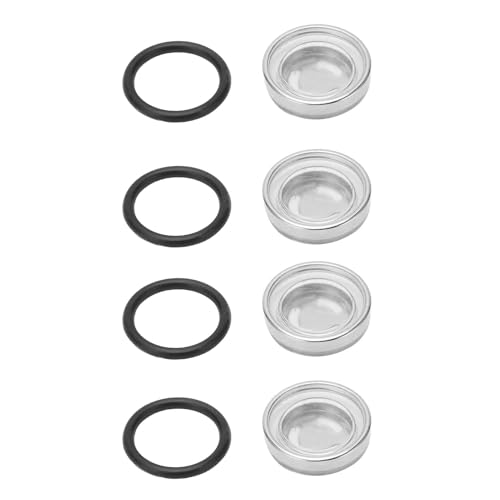
Universal Accessories: Master cylinder sight glass diameter is approx 18mm/0.71in, replacement for motorcycle scooter ATV dirt bike, and many other brake cylinders. The package contains 4 sight glasses and 4 washers (excluding installation tools)

PRECISION DUAL MEASUREMENT: Monitor fluid levels and temperature simultaneously with this professional-grade 6.1-inch sight glass gauge. Features built-in thermometer displaying both °F and °C scales for accurate temperature readings up to 212°F (100°C).

Fitment: The cylinder reservoir sight gasket set is a replacement for and applicable for motorcycle, scooter, ATV, dirt bike, and many other brake cylinders.
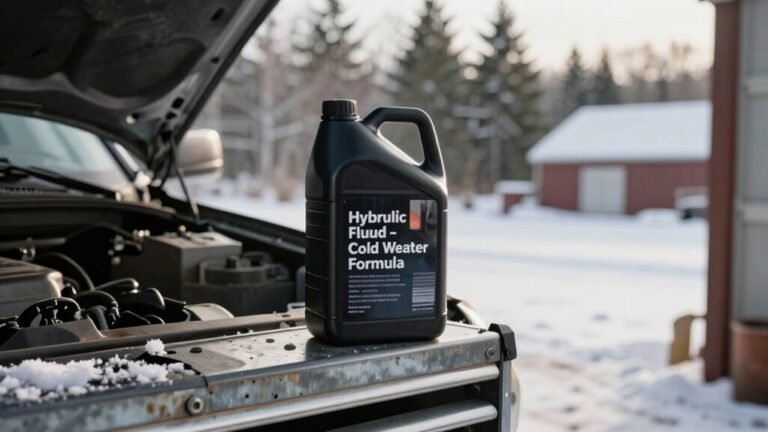
Top‑Up Wood Chipper Hydraulic Fluid & Choose Correct Grade
After you’ve checked the sight glass and confirmed the level’s within range, the next step is making sure the fluid you add is the right kind and that you top it up correctly. Start with grade selection: most wood chippers call for AW32 hydraulic oil, which meets the OEM’s fluid compatibility requirements. If you’re buying a premium brand, you’ll still see AW32 stamped on the bottle—just look for the same viscosity and anti‑wear additives. Clean the filler cap, then pour slowly until the dipstick reaches the first groove, never exceeding 10 mm above it. Remember, over‑filling can cause foaming, while under‑filling leads to reduced pressure. The good news is that a proper top‑up can keep your machine humming for up to 150 hours before a full change. Check hydraulic oil tank level before adding fluid.

SUPERIOR ANTI-WEAR TECHNOLOGY: Extend the life of your hydraulic components with STARFIRE AW32’s advanced anti-wear additives that protect against metal contact, reducing costly maintenance and downtime.

Package Dimensions: 16.0 H x 13.0 L x 13.0 W (inches)

Exceptionally Long Life: Designed for 6,000-hour severe service with high oxidation resistance, providing up to 3 times the lifespan of standard fluids, minimizing the need for frequent replacements
Avoid Mistakes That Skew Fluid Readings
Because a hydraulic system is basically a sealed bottle of oil, any little mistake in how you read the level can throw off the whole picture. First, park your chipper or splitter on level ground; even a slight tilt makes the fluid pool unevenly, giving a false low or high reading. Next, remember temperature‑alignment calibration: dipsticks have separate cold and hot marks, and the oil expands when it’s warm. Wait ten to fifteen minutes after a run, then take a temperature‑compensated reading at 20 °C (68 °F) for consistency. Avoid inserting the dipstick backward or stirring the oil, because that aerates the fluid and creates bubbles that compress, skewing the gauge. Finally, check that any extendable cylinders are fully retracted before you look at the sight glass. This way you’ll get accurate, repeatable measurements every time. Under‑filling can cause the pump to lose pressure and overheat. Proper viscosity index ensures the fluid maintains optimal performance across temperature ranges. Selecting the correct ISO VG grade helps match the chipper’s design specifications. Always consult the equipment’s service manual for the recommended hydraulic fluid type before performing any maintenance.
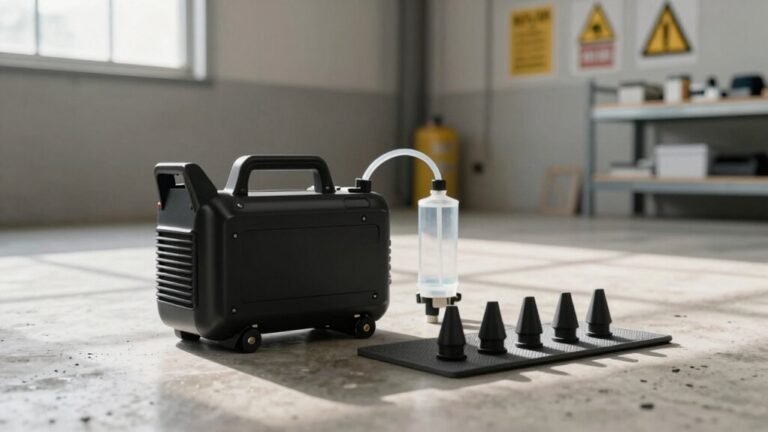
Post‑Check: Purge Air, Log Levels, Reset Alerts
Even when you’ve nailed the fluid‑level check, the job isn’t done until you purge the air, log the levels, and reset any alerts that popped up during the run. Start with an Air purge: open the bleed valve at the highest point, cycle the actuators, and fill the cylinders in thirds while watching the gauge stay above half. Run the machine at low speed; if it jerks, repeat the bleed until the flow is steady and bubble‑free. Next, do a Level reset by noting the final reading, topping off any loss, and writing the numbers in your maintenance log. Finally, tighten all connections, replace the breather cap, and cycle the system to clear low‑pressure warnings. Verify seals are tight, and you’re good to go. Reservoir must be filled near the fill line before bleeding. The hydraulic ram pump’s pressure surge can also be harnessed to assist the purge process by providing a brief boost of flow when the valve is opened. Always wear appropriate personal protective equipment to prevent skin contact with hydraulic fluid. Proper containment prevents environmental contamination during the purge.
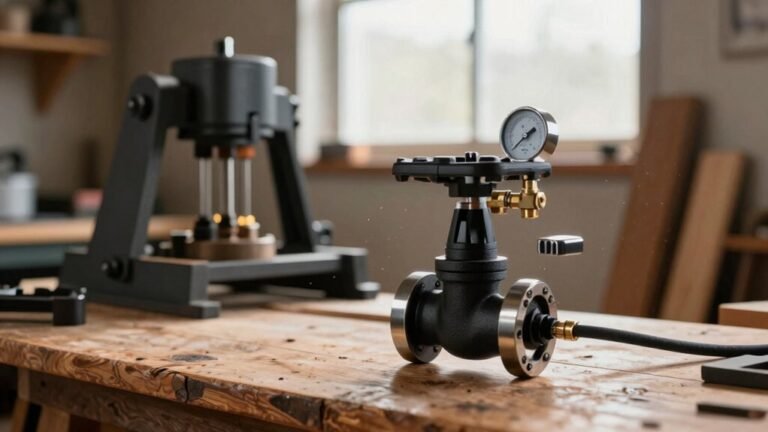
Troubleshoot Low‑Pressure Symptoms After Fluid Check
If you’ve just topped off the hydraulic fluid and the gauge still reads low, don’t assume the tank’s empty—something else is sapping the pressure. First, check for air ingress: loose hose fittings or a hurried refill can trap bubbles that make the system feel spongy and cause the gauge to wobble. You’ll hear a knocking or bubbling noise and see milky, foamy fluid if air’s inside. Next, examine the relief valve for wear; a stuck‑open valve leaks fluid before it builds pressure, and a worn valve won’t seat properly, leading to erratic readings. Look for dirt or a bent spring that could be preventing a tight closure. Finally, inspect cylinders and seals for internal leaks—slow drift under load usually points to worn components that bypass fluid, dropping pressure even though the tank is full. Consider the role of rod seals in maintaining pressure integrity under abrasive conditions. Properly drying the fluid with a centrifuge filter can prevent moisture‑induced cavitation that also lowers pressure readings.

【Universal Compatibility】 4 Size Hydraulic Seal Installers with Surface Mountable Twistor Handle Block and 2-Angles Seal Pick Multitool is a quick, safe and complete installation tool for flexible rod seals. 4 sizes to cover most rod seal installation job from 0.7" up (Rod Diameters): (XS) 20-30mm (0.7”-1.187” Rod) gland hole; (S) 30-50mm (1.187"-2" Rod) gland hole; (M) 50-70mm (2-2.75" Rod) gland hole; (L) 70-165mm (2.75"-6.5" Rod) gland hole.

【Universal Compatibility】 Hydraulic Seal Installer is a quick and safe installation tool for flexible rod seals. 3 sizes to cover most rod seal installation job from 0.87" up (Rod Diameters): (S) 22-40mm (0.87"-1.57" Rod) gland hole ; (M) 40-70mm (1.57-2.75" Rod) gland hole; (L) 70-165mm (2.75"-6.49" Rod) gland hole.

【Universal Compatibility】 Hydraulic Seal Installer and pick and hook set are quick and safe installation tools for flexible rod seals. 3 sizes to cover most rod seal installation job from 0.87" up (Rod Diameters): (S) 22-40mm (0.87"-1.57" Rod) gland hole ; (M) 40-70mm (1.57-2.75" Rod) gland hole; (L) 70-165mm (2.75"-6.49" Rod) gland hole.