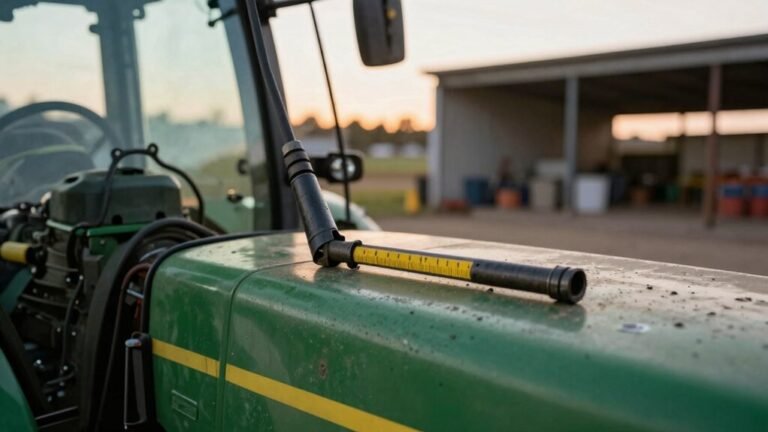
You’ll need ANSI Z87.1 glasses, nitrile gloves, and a steel‑toed boot, then remove the cylinder’s end cap, attach a clear hose to the port, and open the pump slowly. Let fluid and air escape until the stream runs steady and bubble‑free, then tighten the cap and check for leaks. The good news is you can do this with just a rag and a catch pan, and the process works for leaf blowers, wood chippers, or log splitters—keep going for the full step‑by‑step.
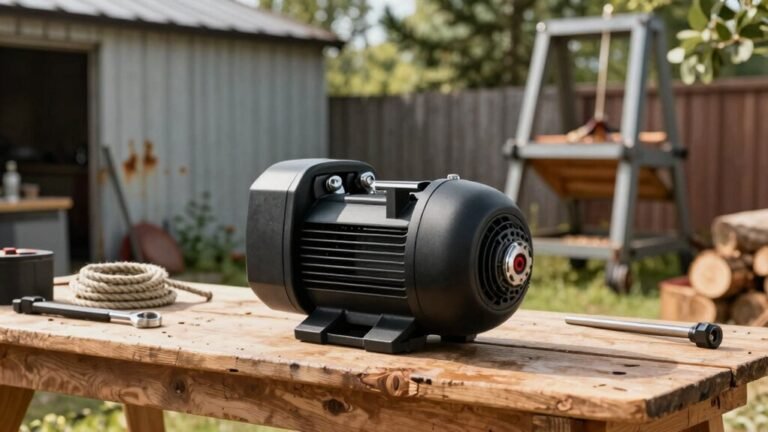
Tools and Safety Gear for Hydraulic Cylinder Bleed
When you’re about to bleed a hydraulic cylinder, the first thing you need to think about is staying safe while you work. Grab ANSI Z87.1‑rated safety glasses or full‑coverage goggles; they’ll stop high‑pressure fluid sprays and debris from hurting your eyes. For your hands, focus on glove selection: nitrile or neoprene keep fluid out, while cut‑resistant gloves protect against wrenches and sharp edges. Slip‑resistant boots are a must—check boot compliance with steel‑toed, oil‑proof soles so you stay steady on oily floors. A hard hat with a chin strap adds head protection if you’re under a heavy cylinder. Keep a rag and a catch pan nearby for spills, and use clear tubing to watch for air bubbles. This gear lets you bleed safely and efficiently. Always depressurize the system before removing any fittings to prevent sudden fluid discharge. The bleed valve should be opened slowly to allow air to escape before fluid, ensuring a smooth purge. hydraulic fluid levels should be checked regularly to prevent damage to the cylinder. Exposure to high‑pressure fluid can cause severe skin irritation and respiratory issues if proper ventilation is not maintained.

ANSI Z87.1+ CERTIFIED IMPACT PROTECTION — Independently tested and compliant with the ANSI Z87.1+ high-impact standard to protect against flying debris, particles, and projectiles on construction sites, manufacturing floors, and industrial worksites. Also compliant with CSA Z94.3 for Canadian jobsites.

Industrial Grade Protection - MELASA protective goggles meet ANSI Z87.1 Safety Goggles Standards and CE EN166 certificate requirements, designed for industrial, commercial, and housework.
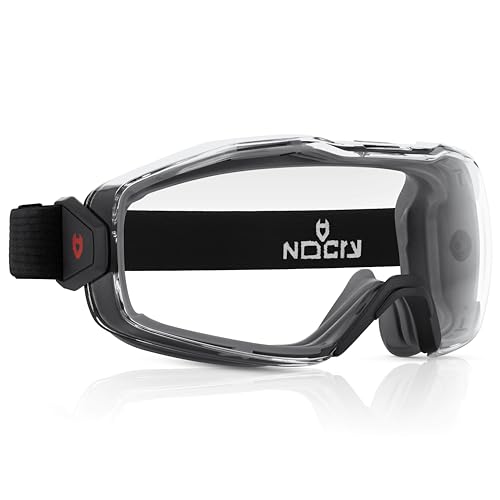
SMOOTH FIT OVER YOUR PRESCRIPTION EYEGLASSES — Want to wear your safety goggles over eyeglasses? These safety goggles fit most prescription eyewear, so you don't have to compromise on your sight. The soft TPR frame gasket with built-in slots creates a secure seal without squeezing your eye goggles or frames.
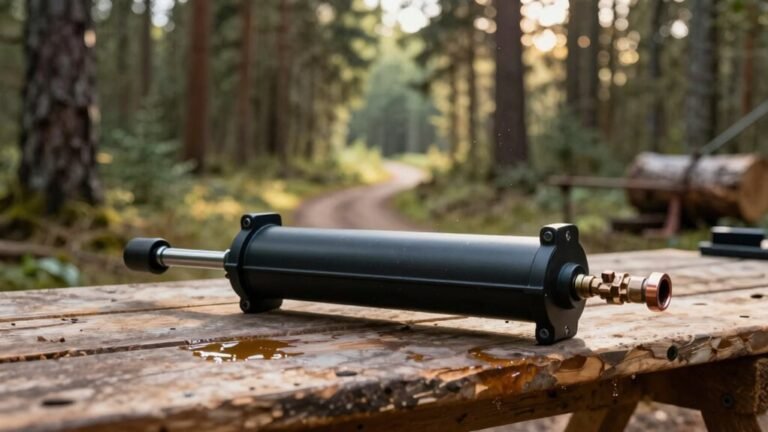
Crack the Fitting to Bleed a Hydraulic Cylinder Quickly
If you want to get that stubborn air out of your hydraulic cylinder fast, start by cracking the fitting at the highest point of the line. First, position the cylinder so the connection sits at the top, then place a drip pan and rag underneath. Grab a wrench and turn the fitting counter‑clockwise about half a turn—just enough to let a hiss of air escape. You’ll hear the hissing as the quick‑release valve opens and fluid‑temperature control stays stable because you’re not over‑pressurizing. Keep pressure light; let the fluid flow steadily until bubbles disappear. As soon as the stream looks clean, tighten the fitting right away. Wipe the area, check for leaks, and repeat if any bubbles linger. This simple crack‑and‑tighten cycle gets air out quickly without a dedicated bleeder valve. Reverse bleed is required because the LSC‑309 slave cylinder lacks a conventional bleeder valve. Safety goggles should be worn at all times to protect your eyes from splashing fluid. The lighter design of Echo leaf blowers makes them easier to handle for residential maintenance tasks. If fluid contacts skin, immediately flush the area with plenty of clean water to reduce irritation and risk of infection.

【COMPATIBLE WITH SEA STAR SYSTEMS】Specifically designed for sea star hydraulic steering bleed kit Sea Star hydraulic steering systems ensuring perfect fit and reliable performance for your boat maintenance needs

Material - The bleed valve is made of brass material, 30mpa/300bar/4500psi

Hydraulic clutch bearing bleeder valve directly threads into 4AN bleeder hose
Back‑Bleed a Hydraulic Cylinder at Low Pressure
Back‑bleeding a hydraulic cylinder at low pressure is the safest way to coax stubborn air out without blowing anything up. First, position the cylinder below the pump—elevate the pump or lower the cylinder—so the ports face upward and air naturally rises. Keep the pump reservoir vented; this prevents a vacuum that would trap air and lets fluid flow freely. Now do a low‑pressure advance: apply just enough pressure to move the cylinder a little, watch bubbles drift into the reservoir, then retract fully at the same low pressure. Repeat two or three times, watching for jerky motion. The good news is you’re priming the system without high‑pressure stress, using alternative venting to keep things smooth. Top off fluid as needed, and stop when the plunger moves consistently. Reverse bleed pushes fluid opposite to the normal pedal‑down flow, efficiently removing trapped air. Proper disposal of any excess hydraulic fluid should follow environmental safety guidelines to protect the surrounding area. Understanding the pulsating surge principle of a hydraulic ram can help you appreciate how low‑pressure techniques move air from the system. Selecting the correct hydraulic pump capacity ensures sufficient flow for effective bleeding.

🛥️ INCLUSIONS & APPLICATION: The Marine Tech bleed tube is used for all outboard, sterndrive, and inboard Seastar hydraulic helms. It makes the bleeding and filling process easier and simpler. The clear hose aids in seeing the air bubbles so you know you're doing it right from side to side. This hose makes getting the air out of a Seastar steering system super easy. If you are a professional or a do it yourself mechanic, this is a must have.

Perfect Compatibility: Specifically designed for TEKTRO and TRP hydraulic disc brake systems. It's perfectly compatible with mainstream models like HD-M282, HD-M285, HD-M286, and many others, ensuring a perfect fit for your bike's maintenance needs.

Transparent Funnel: Liquid and bubbles are clearly visible during the bleeding of bicycle brakes.
Reverse‑Bleed a Hydraulic Cylinder After Removal
After you’ve taken the hydraulic cylinder out of your wood splitter or log chipper, the next step isn’t just to slap it back together—you need to reverse‑bleed it so any air that got trapped during removal can escape upward into the master reservoir. First, do a quick post‑removal inspection: look for cracks, worn seals, and make sure the bleeder nipple is clean. Then grab a syringe or pressure bleeder, clear tubing, and a wrench. Attach the tubing to the cylinder’s bleeder nipple, position the slave cylinder lower than the master, and close any existing bleeder valve. Inject fluid from the bottom, pushing it upward while you stroke the piston several times. Watch the clear hose for bubbles; keep feeding fluid until they disappear, then top off the reservoir and reseal the cap. Maintain the bottle above the work area to monitor fluid level and prevent air ingress. Verify that the cylinder’s bore diameter matches the original specifications to ensure proper fit and performance. Regularly checking for discoloration can help detect early fluid degradation. Properly aligning the seal driver during reassembly helps avoid uneven pressure on the new seal.

Complete Master Cylinder Bleeder Kit: this master cylinder bleeding kit is a replacement for 14151; It includes 2 clear hoses, 10 pairs of red threaded fittings, 10 pairs of blue threaded fittings, 2 pairs of tees, a pair of clips, and a PTFE tape

Can Be Changed Several Times: 2 x 60ml Bottles mineral oil brake fluid

Transparent Funnel: Liquid and bubbles are clearly visible during the bleeding of bicycle brakes
Verify a Bubble‑Free Hydraulic Cylinder System and Finish Post‑Bleed Checks
Even after you’ve finished the reverse‑bleed, the job isn’t done until you can actually see, hear, and feel that the system is truly bubble‑free. Start with a visual inspection of the reservoir and any sight glasses; look for foam, air pockets, or tiny bubbles larger than a millimeter. Extend and retract the cylinder a few times, watching the rod move smoothly without a spongy feel. Next, perform pressure verification: pump the system to its rated pressure and hold it steady—no spikes or drops should appear. Listen for any knocking or rattling, and feel for vibration; silence means no cavitation. Finally, run the equipment under load and confirm the motion stays consistent, confirming you’ve truly eliminated all air. If oil crosses from the retraction side to the front side through a seal leak, the cylinder will extend unexpectedly during this check. Proper storage of hydraulic fluid reduces the risk of fire and contamination, especially when using flammable hydraulic fluid in outdoor equipment. The incompressibility of hydraulic fluid ensures efficient power transmission throughout the system. In extremely low temperatures, hydraulic fluid can become viscous enough to mimic a freeze, so monitoring fluid viscosity is essential for reliable operation.

All-in-One Pressure Test Kit: Orion Motor Tech's hydraulic pressure test kit comes complete with 4 precision gauges, 9 test couplings, a quick connector, 3 hoses, and a sturdy case, providing everything needed for accurate pressure testing on excavators, compressors, hydraulic presses, pneumatic devices, automotive brake systems, and more

Drkerr Two-Tier Hydraulic Pressure Test Kit - All in one kit: 5 x Hydraulic Test Guage, 5 x Test Hoses, 14 x Tee Connectors, 13 xTest Couplings (Includes a Carter Quick Connector), 1 x Portable Storage Case

Full Compatibility - Features 3 Large-Size NPT Adapters (3/8", 1/2", 3/4"), widely used in American heavy equipment including excavators, loaders, and agricultural machinery.