To prime your hydraulic pump, first immobilize the engine, disconnect the battery, and inspect fluid levels for leaks. Fill your reservoir leaving an inch of headspace, then hand-spin the pump pulley while injecting fluid through the fill port. Open the case drain to avoid backpressure. Bleed your hydraulic cylinder by positioning it below the pump and cycling the system at low pressure with the release valve open. Pump the handle about twenty times, watching for foamy fluid that signals trapped air. Repeat until you’re running clear. Stick with the manufacturer’s recommended fluid viscosity—it’s critical for consistent pressure and preventing cavitation that’ll sabotage your whole operation.
Prepare Your System Before Priming Begins
Before you even think about priming that hydraulic pump, you’ve got to make sure your entire system is ready for the job—because rushing through prep work is how small problems turn into expensive repairs or worse, safety headaches.
Start by immobilizing your engine completely. Remove the key and disconnect the battery so nothing accidentally starts while you’re working. Next, disconnect your PTO shaft to eliminate any risk of surprise engagement.
Now inspect your hydraulic fluid levels and check that reservoir cap’s in good shape. Look for any leaks around connections and pipes. Verify your suction line is airtight—air contamination’s your enemy here. Make sure all Zerk fittings are properly greased before you introduce system pressure into the lines. Fill your reservoir to the proper level, leaving 1 in headspace at the top to allow for thermal expansion and prevent overpressurization. This groundwork prevents the contamination issues that cause 80-90% of hydraulic failures. Also, review the pressure‑flow relationship to ensure your pump can meet the required torque for cutting and splitting. Check the dipstick for proper fluid condition before you begin. Remember to wear protective gloves to avoid skin contact with hydraulic fluid.
Choose Your Priming Method
Now that your system’s prepped and ready to go, you’ve got several ways to get that hydraulic pump primed—and picking the right method really depends on your equipment setup and what you’re working with.
For most wood chippers and log splitters, a vacuum pump is your straightforward choice. It attaches externally and pulls air from the suction line, letting atmospheric pressure push oil into the pump. Simple and reliable.
If you’re running a self-priming setup, a jet pump might already be built in. It uses high-velocity fluid to create pressure drops that extract air from your lines—perfect if you’re doing frequent start‑stop cycles.
Here’s the thing: foot valves are dead simple too. That one‑way check valve at the pipe bottom keeps your suction line full between uses, which seriously cuts down air‑binding headaches down the road. For stubborn air pockets that resist initial priming, cycling fluid within the pump by using the pedal to activate the release valve will eliminate trapped air more effectively. The hydraulic ram pump achieves its surge through rapid water flow and pressure differentials, providing a reliable power source for off‑grid wood chippers. Using the proper fluid viscosity ensures optimal lubrication and prevents premature wear. Always store hydraulic fluid in a fire‑resistant container to minimize fire risk.
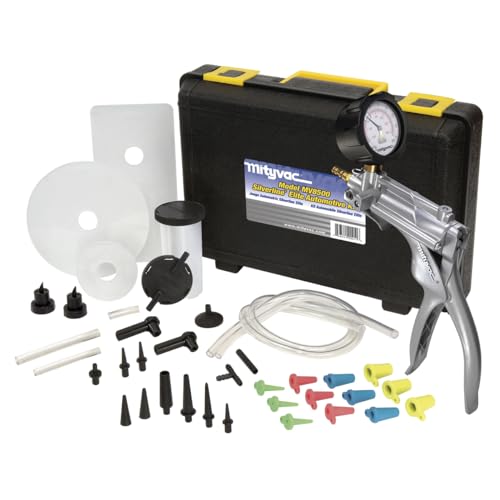
VERSATILE BRAKE AND CLUTCH BLEEDING TOOL: The Mityvac MV8500 Silverline Elite is a multi-functional kit designed for vacuum and pressure bleeding of brake and clutch systems, making it ideal for routine maintenance on motorcycles, cars, trucks, and SUVs

Model: AI-DP1-2200 | Measuring Parameters: Pressure and Vacuum | Model: Hand operated

Efficient liquid extraction: ideal for efficiently extracting urea, gasoline, and other fluids from trucks, enhancing your vehicle maintenance routine,auto brake fluid extractor,brake adjustment tool
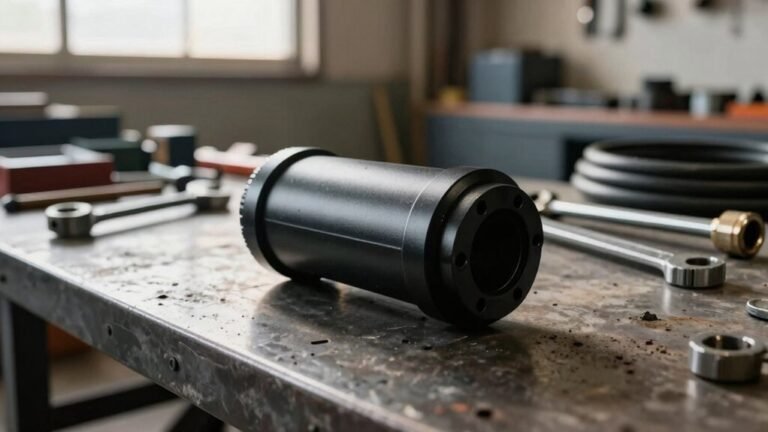
Prime Your Pump Manually
When you’re dealing with a vane or gear pump that’s stubbornly air-bound, manual priming cuts through the problem fast—and honestly, it’s one of the most straightforward fixes in your hydraulic toolkit.
Start by shutting down power to your manual pump completely. This safety step prevents accidental activation while you’re working. Next, locate the fill port on your pump housing and inject hydraulic fluid directly into it. Pour slowly until fluid reaches the suction line, displacing trapped air pockets that cause cavitation. Ensure the case drain port is open to tank or heat exchanger to prevent backpressure during the priming process.
Hand spin the pump pulley wheel gently as you fill—this helps work fluid through the internals. Keep pouring until the fluid level stabilizes, being careful not to overfill. Check your seal integrity before restarting. Once you’ve completed filling, restart and verify smooth operation with no air-bound noise. Choosing a fluid with the proper viscosity rating helps maintain pump efficiency during priming. Remember to bleed the hydraulic cylinder after priming to remove any residual air and protect the system. Using absorbent pads can prevent spills and protect the concrete floor from hydraulic fluid contamination.
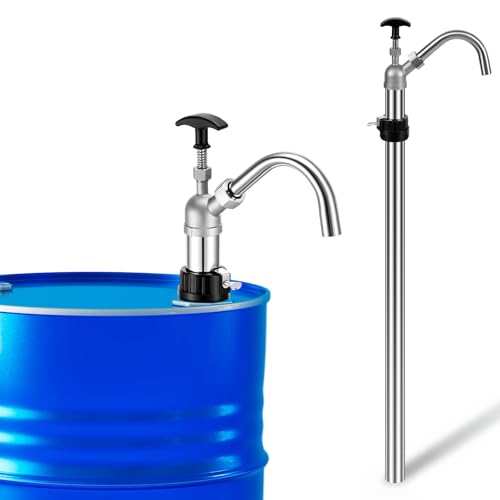
Universal Drum Compatibility: this drum pump is engineered to be applied in 15 to 55 gallon drums and barrels; Its height-adjustable metal bung adapter ensures a secure and stable fit on a wide range of standard container openings
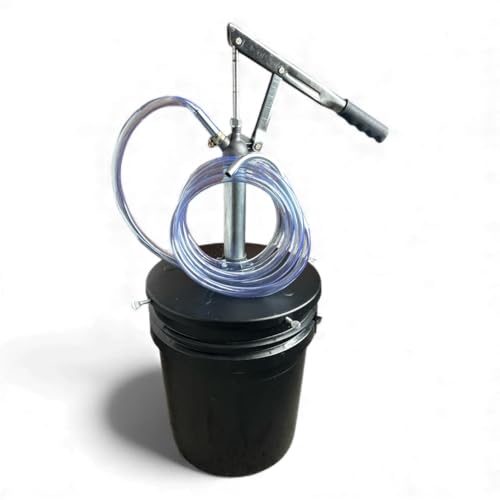
POWERFUL LEVER ACTION PUMP: Delivers smooth, consistent pumping for oils, lubricants, ATF, gear oils, and hydraulic fluids—built for professional shop and garage use.

Clean Oil Extraction Without Crawling Under Vehicles: This 12V oil change pump accesses oil via the dipstick tube, eliminating messy floor spills. For faster flow with viscous oil, a brief engine pre-warm is suggested. Achieves a flow rate of 1-4 L/min (50-194°F) for efficient oil extraction from cars and motorcycles
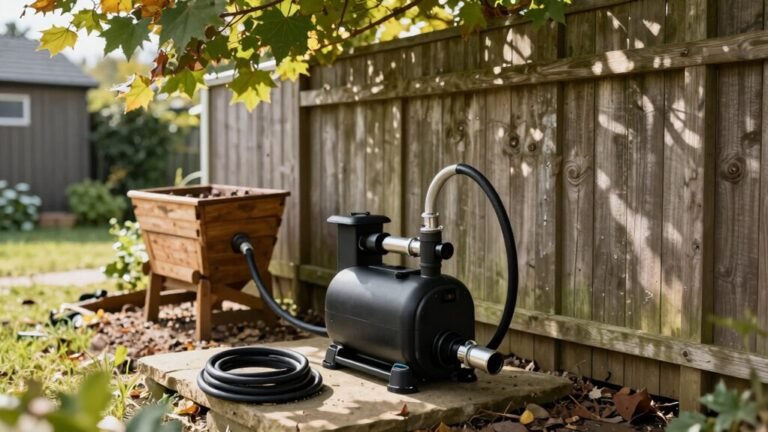
Prime Your System Through Bleeding
While manual priming works great for getting fluid into the pump itself, your whole system needs attention too—and that’s where bleeding comes in. Bleeding removes trapped air from your cylinders and hoses, which is essential for smooth operation.
Start by positioning your hydraulic cylinder below the pump—elevate the pump or lower the cylinder so ports face upward. Attach your hose and cycle the system at low pressure with the release valve open. Pump the handle about twenty times, watching for milky or foamy fluid that signals air presence. Periodic bleeding during operation helps maintain system reliability and prevents performance degradation over time.
During pressure monitoring, maintain your reservoir above half full and lift the system to two-thirds height. Watch for bubbles in the oil; they’ll dissipate in the reservoir. Repeat this process up to three times until you’re confident all air’s gone and your system operates smoothly without sponginess or jerking. Ensure you locate the highest point of the system to effectively purge trapped air. Regularly test the fluid for discoloration to catch early signs of degradation. Keep in mind that hydraulic fluid can exceed 150 °F during heavy use, which may affect viscosity and performance.

Leak-Proof Design: This hydraulic steering bleed kit features upgraded bottle cap thread and integrated sealing washers, paired with precision threaded brass fittings. It effectively minimizes fluid leakage and ensures an airtight sealed connection during marine hydraulic steering maintenance.

Transparent Funnel: Liquid and bubbles are clearly visible during the bleeding of bicycle brakes

13 Pcs Durable Brass Connectors: Engineered for toughness and reliability, won’t crack or degrade over time. It can be used compatible with SHIMANO, TEKTRO, MAGURA, TRP and most mineral fluid hydraulic brake systems
Fix Common Priming Failures
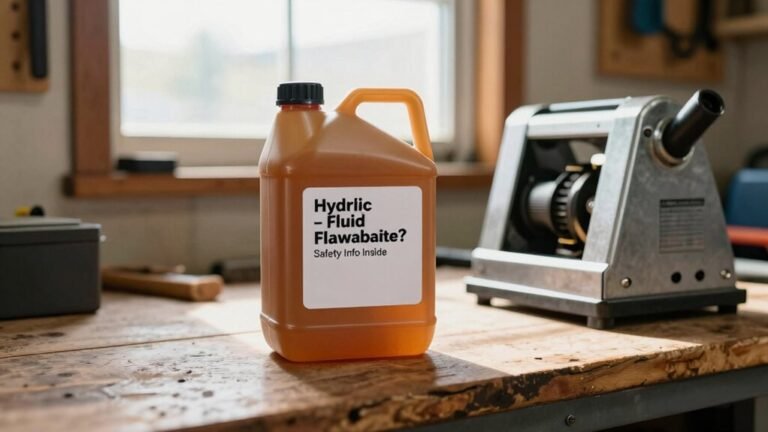
Even with perfect technique, your priming efforts can still fall flat if you’re battling one of several common culprits lurking in your system. Start with contamination detection—dirty fluid ranks as the #1 priming killer. Check for milky discoloration indicating water or metallic particles suggesting wear. Next, tackle pressure troubleshooting by checking your relief valve settings against manufacturer specs using a calibrated gauge. Low pressure often stems from suction leaks or internal wear, while excessive pressure signals blockages. Don’t overlook air bubbles either; cavitation sounds mean loose fittings or clogged inlets are letting air in. Misalignment and over-tightening of pump components can also restrict fluid flow and prevent proper priming. Finally, verify you’re using OEM-approved hydraulic fluid with correct viscosity for your chipper or splitter. Hydraulic fluid viscosity is crucial for maintaining consistent pressure and preventing cavitation. Selecting the right fluid based on temperature stability can further reduce wear and extend equipment life. Address these issues systematically, and you’ll get that pump priming smoothly. Regularly testing fluid for corrosive contaminants helps prevent metal degradation and prolongs equipment lifespan.

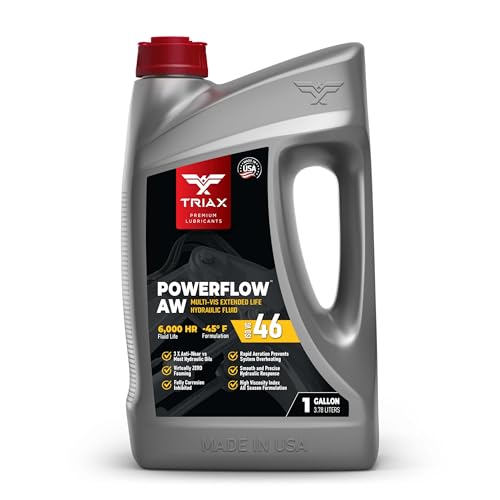
Exceptionally Long Life: Designed for 6,000-hour severe service with high oxidation resistance, providing up to 3 times the lifespan of standard fluids, minimizing the need for frequent replacements

Provides protection for your hydraulic system helping to maintain the efficiency of your equipment