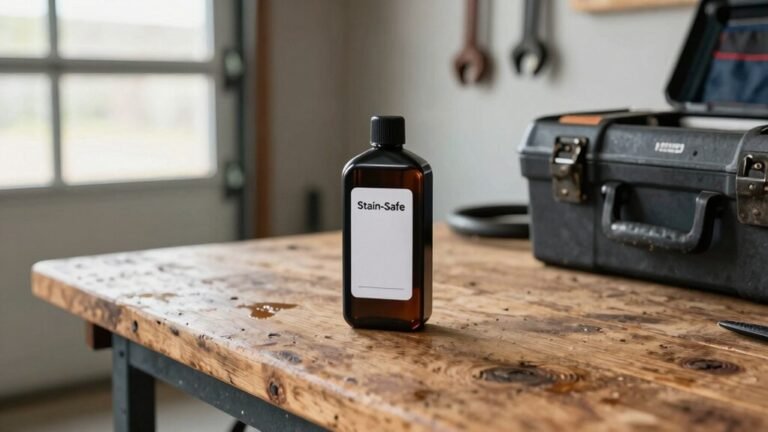
Before you drain, relieve all system pressure by pulling the pump handle forward, then let that hot hydraulic fluid cool for 30–60 minutes—it’ll exceed 200°F during operation. Disconnect power, wear gloves, and position a large catch pan under the main drain plug at your tank’s bottom. Let gravity do the work, then disconnect return lines to grab stubborn fluid in tight spots. Inspect everything for debris and corrosion while you’re at it—this is your chance to catch problems before they wreck your system.
Prepare Your Equipment and Workspace Safely
Before you touch a single hydraulic line, you’ve got to set yourself up for success—and more importantly, for safety. Start by relieving system pressure completely—pull that pump handle fully forward to release tension. Here’s the thing: high‑pressure fluid can inject through skin, so never use bare hands to check for leaks.
Next, let your equipment cool down. Hot hydraulic fluid exceeds 200°F during operation, so wait at least 30‑60 minutes after use. Use an infrared thermometer for temperature monitoring if you’ve got one. Always disconnect the unit from power before beginning any maintenance work.
Now prep your workspace. Wear safety gloves and protective clothing to shield against fluid splashes and skin contact. Clean your machine’s interior thoroughly, removing dirt that could contaminate fresh fluid. Wipe exterior surfaces, organize your tools and drain pans in a designated clean area, and position your equipment level for complete drainage. Check the fluid level before you start draining. You’re ready to work safely. Also, consult the manufacturer’s hydraulic fluid specifications to ensure you use the correct fluid type for your equipment. Use a sealed spill containment tray to catch any accidental leaks during the draining process.

【Transmission Drain Pan Scope of Application】The oil drip tray is nicely matched with the splash pad, which can withstand engine oil, transmission oil, coolant, brake fluid, brake cleaner, gear oil and other solvents, providing more convenience for you.

CLEANER OIL CHANGES: This Scepter Oil Pan keeps your driveway and garage floor clean, eliminating spills and ensuring minimal cleanup; The 12-quart container is great for engine oil, hydraulic fluid, transmission fluid and anti-freeze

30 quart, heavy-duty, all-purpose plastic drain tub
Locate the Drain Points
Now that you’ve got your workspace prepped and your equipment cooled down, it’s time to actually find where the hydraulic fluid’s going to come out. Most chippers and splitters have multiple drain point identification options, so don’t assume there’s just one.
Start by locating the main drain plug at your tank’s bottom—that’s your primary access point. Next, check for hose pin locations on the quick-disconnect couplings; pushing these pins releases fluid without removing anything. You’ll also want to spot the suction hose and air filter flange on top of the reservoir. Before draining, ensure all fluid reservoirs are sealed after your initial inspection to prevent contamination.
Here’s the thing: different models vary considerably. A Vermeer uses a dipstick near the drain, while a BX42 chipper’s simplest method involves those hose pins. Your dealer can confirm your specific model’s layout before you start draining.
Additionally, always verify the hydraulic fluid level after any drainage to maintain proper system pressure. Properly bleeding air from the system after refilling helps avoid pump damage. If you need to remove trapped air without a dedicated bleeder valve, you can use the clear hose method to purge the system.
Drain the Hydraulic Fluid
Once you’ve got your drain points mapped out and your equipment cooled down, you’re ready to actually get that hydraulic fluid out—and here’s where patience pays off. Start by removing your main reservoir drain plug and letting gravity do the heavy lifting into a large catch pan. Don’t rush this part. After the initial flow slows, disconnect your lowest return lines to access trapped fluid in hard-to-reach spots. For a safety inspection, check that you’ve relieved all system pressure beforehand—this prevents dangerous high-pressure injection. Next, briefly operate your machine with hoses detached to pump out remaining fluid. Hit those low-point areas specifically. To ensure complete drainage, position the hose as low as possible and use the tongue-down position to maximize fluid extraction. The good news is combining cylinder closure with filter removal captures almost everything, protecting both you and the environment while maximizing fluid recovery. Regularly testing the fluid for discoloration can help you catch degradation early. Understanding hydraulic ram pump principles can also guide you in designing low‑energy fluid‑recovery systems for off‑grid equipment. Proper hose sealing is essential to prevent future leaks.

CLEANER OIL CHANGES: This Scepter Oil Pan keeps your driveway and garage floor clean, eliminating spills and ensuring minimal cleanup; The 7.3-quart container is great for engine oil, hydraulic fluid, transmission fluid and anti-freeze

This Oil Pan Drain Plug Gasket 8N6734 364420R1 & Hydraulic Pump Drain Gasket 8N7011 181468M1 kit ensures a leak-free seal for your tractor. Made from durable materials, these gaskets provide long-lasting protection against oil and hydraulic fluid leaks.
Two-in-One: This Performance Tool W4080 16-Quart Oil Drain Container serves two functions - it catches draining fluids and also stows them securely away for easy transport.
Refill With Fresh Hydraulic Oil
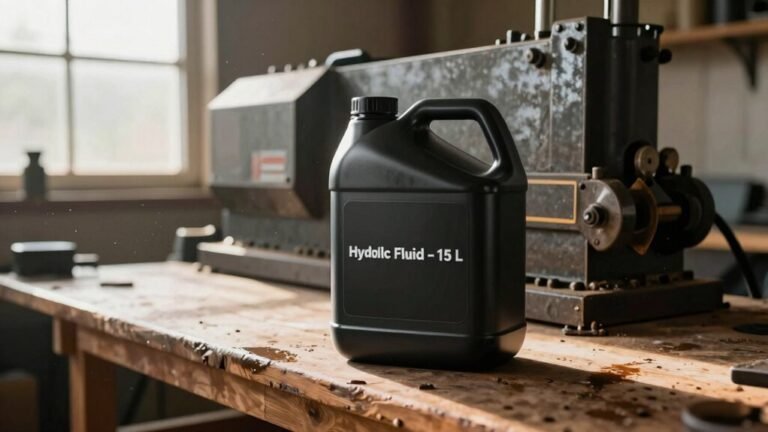
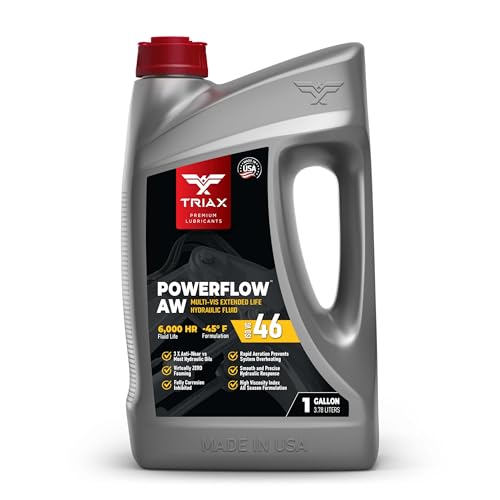
Getting fresh hydraulic oil back into your wood chipper or log splitter is where you’ll really see the payoff from all that careful draining work. Start by selecting ISO 46 hydraulic oil that matches your manufacturer’s specs—oil viscosity matters more than you’d think for proper system performance. Fill slowly through the fill port using a funnel to avoid air pockets and spillage. Before topping off completely, cycle your cylinders closed to minimize trapped air. Make sure your new filter’s compatible with the fresh oil you’re installing; filter compatibility prevents residue buildup that’ll mess with flow. Oil type depends on your system—some units require ATF while others need light hydraulic oil, so verify your manufacturer’s specifications before refilling. Run the system briefly afterward to circulate everything smoothly. Check your fill level once more, then you’re done. Don’t rush this step—patience pays off in long-term reliability. Properly sized hydraulic pump ensures consistent pressure and flow during operation. Using the correct ISO VG 32‑46 viscosity range helps protect the system under typical residential workloads. Selecting the right fluid also improves temperature stability and reduces wear over time.
Exceptionally Long Life: Designed for 6,000-hour severe service with high oxidation resistance, providing up to 3 times the lifespan of standard fluids, minimizing the need for frequent replacements

FULL SYNTHETIC, INDUSTRIAL-GRADE: Advanced high-temp formula with up to 1000% higher load-bearing capacity than conventional oils and thick, high-durability film that prevents metal-to-metal contact under extreme operating temperatures
Verify the Fluid Level and Check for Leaks
Before you fire up your machine again after that hydraulic fluid change, you’ll want to verify that your fluid level is exactly where it should be—and that you don’t have any sneaky leaks waiting to ruin your day.
Start with a dipstick inspection. Clean the stick thoroughly, insert it fully into the tank, then withdraw it for an accurate reading. You’re targeting that 7/8 full mark—no higher, no lower. Position your equipment on level ground; tilted machines give false readings that’ll throw everything off.
Next, perform leak detection by inspecting hydraulic hoses, pump connections, and fittings for cuts or wetness. Check around areas where dirt accumulates—that’s where leaks hide. Tighten any loose components, then run the system briefly and recheck your fluid level. Examine the hydraulic pump specifically for any signs of seepage before resuming normal operation. Remember that prolonged exposure to hydraulic fluid can cause skin irritation and other health hazards.
Hydraulic fluids often contain corrosive additives that can accelerate metal degradation if not properly managed. Ensure you also inspect the cylinder for any signs of wear before reinstalling components.
Fix Common Drainage Issues
Even though you’ve got the right drain bucket positioned and your safety gear on, sometimes the hydraulic fluid just won’t cooperate—and that’s usually because something’s blocking the system. Start with pump filter inspection to catch accumulated debris before it causes real problems. Next, check your vent valve cleaning—a clogged vent stops fluid from draining properly. Don’t overlook shipping plugs either; brand-new splitters often have these still installed, which completely prevents drainage. If you’re getting slow flow, air’s probably trapped in the lines. Crack open your bleed valves and cycle the pressure plate several times to release it. Using automatic transmission fluid as a hydraulic substitute can help identify seal leaks through its red color during the drainage process. Finally, inspect your drain valve for corrosion or stuck handles. These common issues are fixable, and addressing them saves you serious frustration. Always wear protective gloves to prevent skin contact with hydraulic fluid. In case of accidental skin exposure, immediately stop the flow and flush the area with plenty of clean water. Follow the hydraulic cylinder end cap removal guide to ensure all components are safely depressurized before drainage.