You can build your own hydraulic hoses by removing the old one, measuring its length, inner diameter, and thread size, then selecting matching JIC fittings and the right hose rating for your pump’s GPM and PSI output. Grab a portable hydraulic crimper, wrap the fitting threads with yellow Teflon tape, crimp both ends to spec, then pressure-test at 1.5× rated working pressure before installation. Most leaks come from loose fittings or missing O-rings, but if you’re short on time, pre-made assemblies are available online with quick shipping.
Remove Your Old Hose and Note Its Specifications
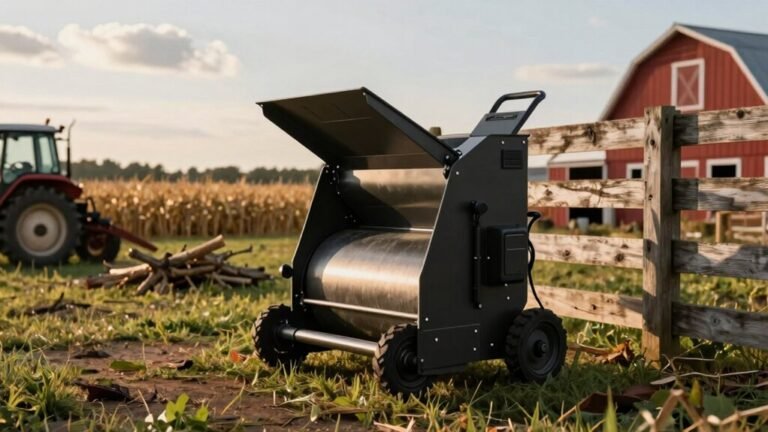
Before you can grab the right replacement hose for your wood chipper or log splitter, you’ve got to safely remove the old one—and here’s the thing, most people skip the critical first step and end up covered in hydraulic fluid or worse. Start by releasing all hydraulic system pressure to prevent dangerous spray injuries. Next, visually inspect the damaged hose, tracing its route end-to-end and noting which components it connects to. Mark both ports and hose ends with numbers and letters—this documentation standards approach saves you serious headaches during reinstallation. Use two wrenches on swivel fittings, keeping the stationary side protected while turning the other. Once disconnected, catch residual oil and seal open ports with clean rags to prevent debris ingress. Note the hose’s exact specifications: thread size, inner diameter, and fitting type. These details matter for ordering the correct replacement that matches your equipment’s safety protocols. Properly bleed the hydraulic system before removal helps eliminate trapped air that could later cause pressure spikes. Check the fluid level before you begin to ensure the system is not over‑pressurized.
Measure Your Hose Length, ID, and Thread Size
Now here’s where most folks mess up—they’ll grab any hose off the shelf and wonder why it doesn’t fit or causes problems down the road. You need three measurements: length, inner diameter (ID), and thread size.
For length, measure end-to-end of your fittings—that’s your overall length (OAL). Straight fittings go end-to-end; angled ones measure through the center. After crimping, hoses stretch nearly half an inch, so account for that. Use dash marks as your measuring reference to ensure the hose end is fully seated before taking your final measurement.
Next, identify your ID in dash sizes (1/16-inch increments). This determines your flow rating and pressure capacity. Don’t guess here—wrong ID means inadequate flow or excessive pressure drop.
Finally, note your thread type and size. Check if you’re running JIC, SAE, or NPSM fittings, and verify your seal material matches your hydraulic fluid. Write everything down before ordering. Moisture contamination can cause fluid degradation, so keep hoses dry during storage. Understanding hydraulic pressure helps prevent over‑pressurizing the system. Follow the steps in the bleeding guide to remove any trapped air before installing new hoses.
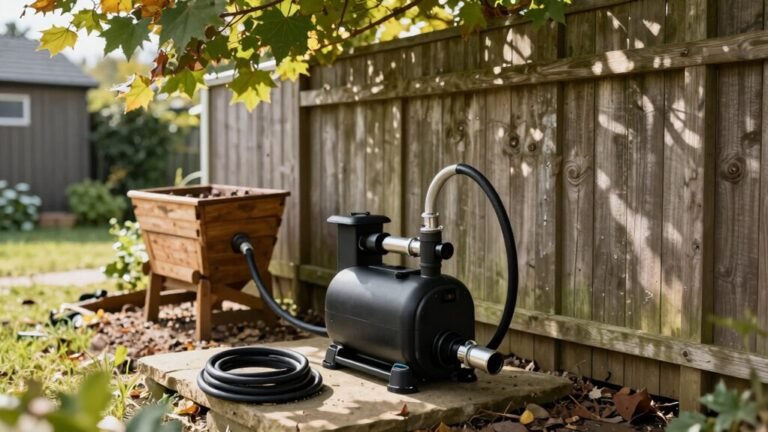
Identify Your Pump’s GPM and Pressure Rating
Once you’ve nailed down your hose specs, it’s time to dial in the real workhorse of your hydraulic system—the pump. Your pump rating determines everything downstream, so getting this right matters.
You’ll find two critical specs: GPM (gallons per minute) and PSI (pounds per square inch). Most wood chippers run between 5 and 20 GPM, depending on whether you’re feeding manually or running a whole-tree operation. Pressure typically ranges from 2,300 to 3,000 PSI continuous.
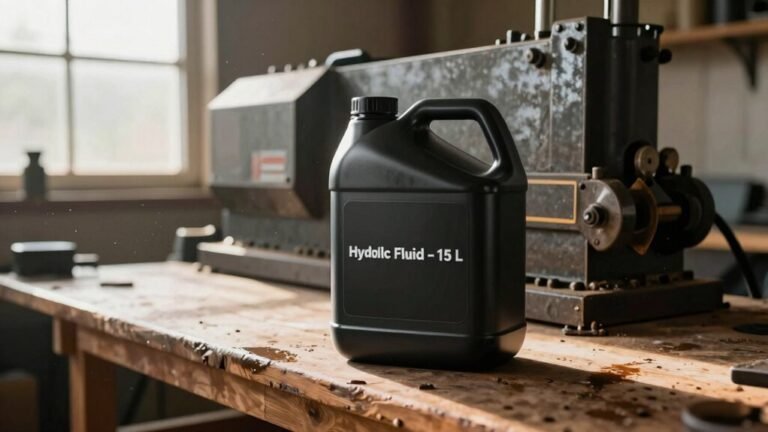
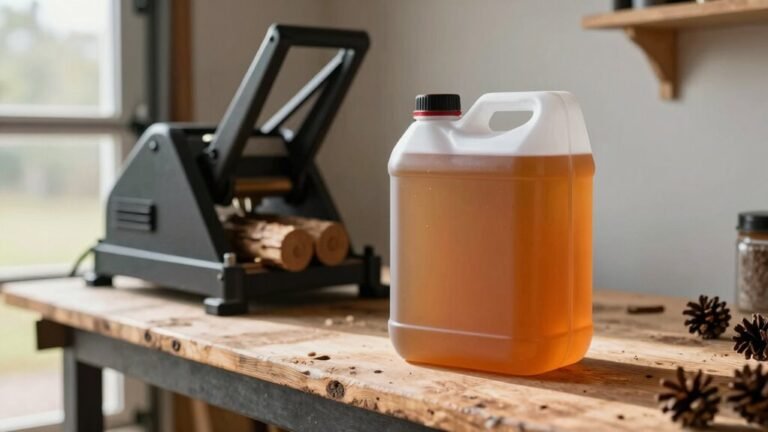
Here’s the thing—your hose material and hose rating must match your pump’s output. A Carlton 1260, for example, delivers 5.33 GPM at 2500 PSI relief. You’ll want hoses rated well above that, like SAE 100R2 with 16,000 PSI burst strength. Don’t skimp here. Mismatched specs cause failures. Hydraulic ram pumps can provide a reliable, low‑energy power source for such systems when water flow is available. Selecting the proper viscosity grade ensures the fluid can handle the temperature extremes typical of wood‑processing environments. Using the correct additive package helps protect components from wear and corrosion.

Leak-Proof & Reliable:12-inch length, 3/8” inner diameter hydraulic hose with 3/8” JIC 37° female fittings on both ends.

Interior Diameter: 3/8"

Designed for hydraulic systems with petroleum and water-base fluids, or general industrial applications
Select JIC or NPT Fittings for Your Setup
With your pump specs locked in, you’ve got to pick the right fittings—and this is where a lot of folks get tripped up. For wood chippers and log splitters, JIC fittings are your best bet. They feature a 37-degree flare that creates a metal-to-metal seal, handling the high pressures these machines demand without needing thread sealant. NPT fittings rely on tapered threads and sealant, making them better suited for low-pressure setups.
Here’s the thing: pressure material compatibility matters tremendously. JIC’s superior sealing performance in demanding hydraulic applications means you won’t deal with leaks during operation. When considering thread material selection, stainless steel or nickel alloy JIC fittings resist corrosion and temperature swings better than alternatives. Don’t mix JIC and NPT—use adapters if necessary. Proper hydraulic fluid selection hydraulic fluid viscosity also helps maintain system performance and prevent wear. Hydraulic fluid toxicity requires careful handling to avoid health risks. Directional control valves ensure precise flow routing for safe and efficient operation.

#6 SAE/ORB Connector: Designed with parallel threads. When the joint is tightened, a seal is formed by pressing the O-ring in the bottom groove into the inclined surface of the inner hole interface.

Compatibility: Compatible with Weatherhead, Dayco, or adjustable crimpers, interchanges with Weatherhead U-Series; fit for 3/8" I.D. hydraulic hose, 3/8" JIC female 90° end.

Seamless Compatibility: Crimp hose fittings are designed for easy connection with 1/4" I.D. hydraulic hoses. These fittings have a 3/8" female JIC 37 degree swivel end, ideal for fluid power systems and hydraulic applications.
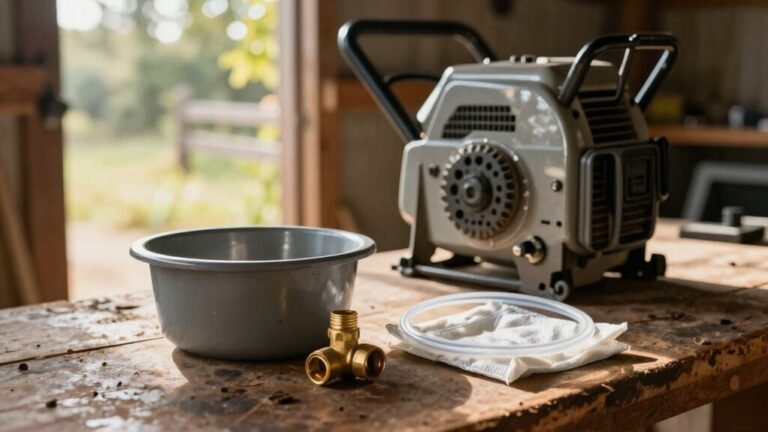
Gather Crimping Tools and Hydraulic-Grade Tape
You’ll need to bring together the right equipment to make reliable hose connections, and honestly, this is where having quality tools really pays off. Your tool selection makes all the difference—grab a portable hydraulic crimper for on-site work, or consider a bench-mounted K100 if you’re serious about this. The K100 delivers 35 tons of crimping force and handles hoses up to 3/4″, which covers most wood chipper and log splitter applications. Don’t skimp on an adjustable micrometer either; it guarantees your crimps hit exact measurements. Beyond tools, stock hydraulic-grade tape for your fittings—this prevents leaks before they start. A two-stage hand pump requires approximately 110 strokes to reach the target pressure of 4,000 PSI needed for reliable crimps on quarter- to half-inch hoses. Pair everything with proper safety gear: gloves, eye protection, and closed-toe boots. Quality equipment and safety gear transform this job from risky to rock-solid. Always double‑check the hydraulic fluid viscosity before beginning any repair. Selecting the right pump type, such as a gear pump for consistent flow, can further enhance system reliability. Properly designed hoses also ensure high‑pressure fluid transmission throughout the wood‑processing system.

【True 12AWG–4/0AWG Heavy-Duty Crimping】This hydraulic crimping tool is engineered for demanding electrical work, supporting a full 12AWG to 4/0AWG range, including large 3/0 and 4/0 battery cables used in high-current systems.
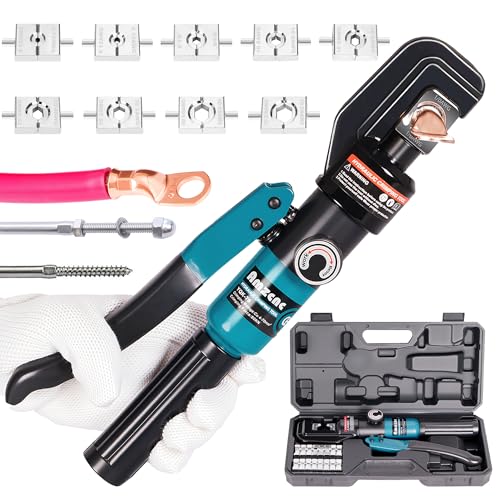
Hydraulic crimping tool specification: Crimping range 12 AWG-2/0 AWG, Stroke 0.55 Inch

PRODUCT SPECIFICATIONS: The hydraulic crimping tool delivers 6 tons, include: #4, #6, #8, #10, #16, #25, #35, #50, #70 supporting wire sizes from 12 AWG to 2/0 AWG.
Wrap Threads With Teflon Tape Before Crimping
Sealing your NPT threads with Teflon tape—often called thread seal tape or plumber’s tape—is one of those small steps that makes a huge difference in keeping your hose connections leak‑free, and here’s the thing: it’s not complicated, but you’ve got to do it right. Start on the second thread, then wrap clockwise following the male thread spiral. Maintain steady tape tension as you wrap two to three revolutions around the fitting. Keep that tape edge parallel to the fitting face—no shortcuts. Use 1/4‑inch wide tape for smaller threads. Press the tape flat into the grooves after cutting excess. Yellow Teflon tape rated for petrochemicals is specifically compatible with hydraulic oil and delivers superior sealing performance compared to generic alternatives. Thread sealing prevents hydraulic fluid from weeping out under pressure, and proper tape tension ensures a solid seal without bunching or tearing. Choosing the correct hydraulic fluid viscosity is essential for optimal performance. Remember that hydraulic fluid flammability can be a serious fire risk if leaks occur near hot surfaces. Using the right corrosion‑resistant fluid helps protect metal components from chemical attack.
Crimp Your New Hose Fittings to Spec
Once your Teflon tape’s wrapped and your fittings are prepped, the crimping stage is where precision really matters—because a loose or over‑tight crimp will fail you faster than a poorly sealed thread ever could. You’ll need to match your die to your specific hose type and fitting series, then set your micrometer to the exact crimp diameter specified in the manufacturer’s tables. Position your hose with the fitting fully inserted to the mark, then activate the machine and let it compress to the bottom of the die. After crimping, measure across the flats with a caliper to verify you’re within tolerance. Before finalizing the assembly, confirm crimp face alignment with the fitting end as specified in your crimp documentation. Getting crimp torque and hose sealing right here means your wood chipper runs leak‑free for years. Understanding water hammer dynamics helps you size the drive‑pipe correctly for optimal performance. Properly inspecting the cylinder for wear before reassembly seal integrity and prevents future leaks.
Pressure-Test Your Hose Assembly Before Installation
Now that your crimped fittings are dialed in, there’s one critical step standing between you and a reliable hydraulic system: pressure testing your finished assembly.
Here’s the thing: you’ll want to fill your hose with water and purge all air completely. Seal everything up, then gradually raise pressure in small increments—think 1 bar steps—until you hit your target. For most equipment, that’s 1.5 times your rated working pressure, held for five minutes. Apply a light coat of assembly oil to the 37° flanges before installing test caps to ensure proper flange seating.
During your pressure test, inspect the entire hose length visually for leaks, weeping, or bubbles. Watch for excessive elongation or fitting slippage. Submerge it in water at operating pressure to catch any pinholes you’d otherwise miss.
The good news? This leak detection saves you from catastrophic failures later. Take your time—it’s worth it. Also, keep in mind that hydraulic fluid can exceed 150 °F during heavy duty operation, so proper testing is essential.
Fix Common Hydraulic Hose Leaks and Connections
Even with the best pressure testing behind you, hydraulic hoses don’t last forever—and when they start leaking, you need to figure out what’s actually going wrong before you can fix it. Start your leak detection by checking fittings first; they’re often the culprits due to missing O-rings or improper torquing. Remember, fluid drips at the lowest point, so trace upward to find the real source. Worn hoses near heat sources like exhaust manifolds fail faster, so heat shielding matters more than you’d think. Clean the area thoroughly before attempting any repair. When cleaning, use compressed air to blast away any metal dust or debris from the damaged section to ensure a proper seal. For temporary fixes, wrap electrical tape around the damaged section and secure it with clamps. Permanent solutions mean replacing the entire hose assembly with proper crimped couplings.

【Size】 1/2" 2-wire reusable #8 hydraulic hose repair kit is designed for hoses with a 1/2" ID and 0.81" OD. Ensures precise compatibility and easy installation.

Universal Fit: Works with R2, R16, R17, R19 2-wire hydraulic hoses and 2SN/2SC type hoses for emergency repairs.

3-Pack Combo of Reusable Repair Kits designed specifically for 2-Wire Braided Hydraulic Hoses. These kits feature zinc plating, offering superior corrosion protection for prolonged durability. What's more, the components are engineered for reusability, ensuring versatility for future applications and repairs.
Order Pre-Made Hoses or Request Custom Fabrication
After you’ve tracked down the leak and patched things up temporarily, you’re facing a bigger question: do you replace that hose yourself with something off the shelf, or do you go custom?
Here’s the thing: pre-made hoses work great if your wood chipper or log splitter uses standard sizes. You’ll find fabric order options at Tractor Supply or Surplus Center with quick pickup options and hassle-free warranties.
But if you need something specific—unusual lengths, odd connector combinations, or higher pressure ratings—custom fabrication’s your answer. Most suppliers handle fabrication lead‑times reasonably well, especially for smaller orders. You can configure exactly what you need online, email photos of your old fittings, or call 304-263-9995 for help. Ship your old hose back, and they’ll build your replacement right.