Park your tractor on level ground, lower all implements, and let the engine idle at 1000 RPM for a minute before shutting it off and waiting three minutes for oil to settle. Locate the sight glass on your rear transaxle—you’ll read the meniscus at its lowest point between the graduated marks. If you’ve got an older model, use the dipstick method instead: remove it fully, reinsert until bottomed, then check against the markings. Milky fluid means water contamination; darkened oil signals oxidation. Top off with John Deere Hy-Gard using the dipstick tube, then recheck after a brief run to confirm proper levels.
Prepare Your Tractor Before Checking Fluid Levels
Before you even crack open that hydraulic reservoir, you’ve got to set your John Deere up right—and here’s the thing, this step matters way more than most people realize. Start by parking on completely level ground; uneven surfaces throw off your readings big time. Lower all implements and attachments fully to release hydraulic pressure and prevent oil from hiding in those lift cylinders. Set your parking brake and shut off the engine completely.
Now here’s where engine warm‑up comes in. Fire it back up and run it at 1000 RPM for about a minute to circulate that oil—you’re aiming for roughly 113 °F. Kill the engine and wait three minutes for settlement. Finally, wipe down your reservoir cap with a clean cloth. This hydraulic safety step prevents dirt contamination and guarantees you’re getting accurate readings. For a John Deere 3038E, locate the dipstick on the rear left side of your tractor to access the hydraulic fluid level indicator.
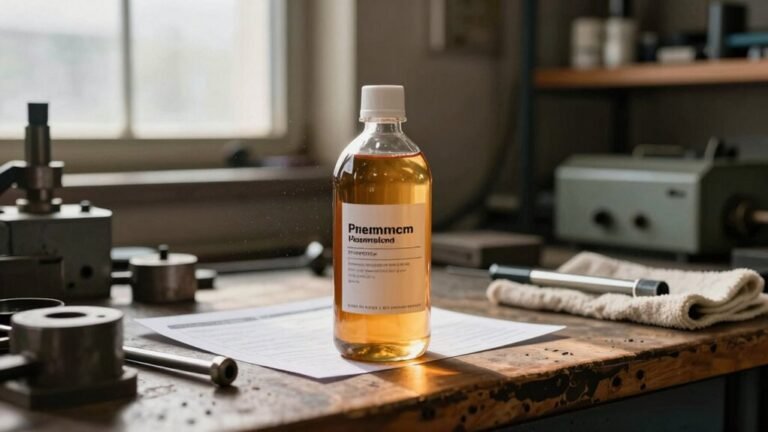
Check the fluid’s clarity before adding more to ensure it’s not contaminated.
If the fluid looks milky or contains particles, it may be contaminated hydraulic fluid and should be drained and replaced.
Understanding pressure and flow is essential for proper hydraulic system performance.

Approximate Dimensions: 6-1/2" Wide x 6.5" Tall x 13" length

Product Description:This ruler can be inserted directly into the transmission fluid reservoir, making it easy to observe whether the current fluid level is normal or not. This is important for regular transmission fluid checks and refills

New Hydraulic Fluid Reservoir 3/4 NPT 40 Micron Air Breather with Dipstick 25-3
Locate and Read Your Hydraulic Sight Glass
Once you’ve got your tractor prepped and parked on level ground, it’s time to find that sight glass—and here’s the thing, locating it is half the battle since placement varies quite a bit depending on your John Deere model. You’ll typically spot it on the rear of the transaxle or near your hydraulic fluid reservoir, often labeled (A) in diagrams. The sight glass is located behind rear PTO and serves the critical function of preventing both over- and under-fill issues.
Position yourself so you’re viewing the sight glass perpendicular to your line of vision at eye level. You’re looking for the fluid level between the marks—ideally just below the top mark. Remember, temperature impact matters here. Hotter oil reads higher, colder oil reads lower. Check when your oil’s around 45°C for the most accurate reading. The meniscus should align with those graduated markings right in the middle, avoiding overfill or underfill situations. Regular fluid testing can reveal discoloration early, helping to prevent component wear. Proper handling of hydraulic fluid also reduces the risk of chemical exposure to the operator. Keep in mind that hydraulic fluid flammability can pose a fire hazard if spilled near hot surfaces or open flames.
Use the Dipstick Method for Older Models
Start by parking on level ground and running your engine at 1000 RPM for a minute to warm the system. Stop, then wait three minutes for the oil to settle. You’ll find the dipstick on the transmission or rear end—on a 1120, it’s on the right side below the seat. Before checking the fluid level, clean the dipstick area to prevent dust and contaminants from entering the hydraulic system.
Remove the reservoir cap, pull out the hydraulic dipstick completely, then reinsert it fully until it bottoms out. Withdraw it and read the fluid level against the markings. That’s your answer. The incompressibility of hydraulic fluid ensures that the power transmission remains efficient and reliable. Also, always inspect the seal for wear before refilling to avoid future leaks. The pulsating surge generated by a hydraulic ram can be harnessed to power auxiliary equipment in off‑grid settings.
Check Your Fluid Level Against the Marks
Now that you’ve located your sight glass or dipstick, reading what you’re looking at is where most folks either nail it or second‑guess themselves—and here’s the thing, you’re probably overthinking it. Look for the meniscus, that curved surface where oil meets air, and read it at its lowest point against the graduated marks. Your fluid should sit comfortably between the maximum and minimum lines. If it’s below that lower mark, you need to top off immediately. Keep in mind that temperature and viscosity matter—oil expands and contracts based on heat. For accurate readings, check your levels after the engine’s been running at idle for a minute, then let everything settle for three to five minutes. Temperature compensation guarantees you’re getting honest numbers, not false readings that’ll throw off your maintenance schedule. Before adding any fluid, ensure the reservoir is clean to prevent contamination of your hydraulic system. Proper viscosity control helps maintain consistent power transmission and reduces wear. Selecting the right hydraulic fluid viscosity for your equipment can further protect the system under varying load conditions. Using the correct high‑pressure formulation is essential for reliable cylinder actuation.

John Deere Original Equipment 1 Gallon Hy-Gard Low Viscosity Transmission & Hydraulic Oil - TY22000


Diagnose Discolored, Low, or Contaminated Fluid
A milky appearance means water’s contaminated your system, and that’s serious. You’ll see cloudiness instead of that clear amber color, so don’t ignore it. Drain and flush immediately or use absorbing filters to remove moisture.
Dark fluid doesn’t always spell trouble—oxidation and thermal stress commonly darken oil without ruining it. But a burnt odor? That’s your signal to replace the fluid right now. That smell indicates chemical breakdown from entrained air, and it’ll damage your pump fast if you don’t act. Hydraulic fluid corrosion can also occur when moisture interacts with metal components, leading to rust and premature wear. Properly selected hoses can prevent high‑pressure leaks and protect the system from contamination. Polyurethane rod seals provide excellent wear resistance in abrasive environments.

[HYDRAULIC OIL FILTER] The 10-micron hydraulic oil filter assembly is designed to remove contaminants from petroleum-based, high water, water glycols, and water/oil emulsions fluids, it's best suited for cleaning petroleum-based fluids
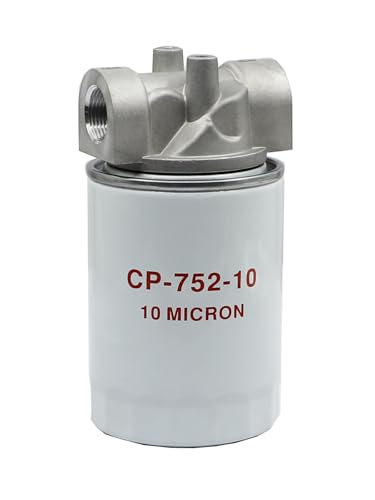
SPECIFICATIONS: The ZXTQWX spin-on filter assembly comes with a 10 filter micron It has a 3/4” NPTF inlet/outlet port

Keep contaminants causing damage, away from the sensitive parts of the engine
Add John Deere Hy-Gard Oil Correctly
Once you’ve confirmed your fluid’s in good shape, it’s time to top it off—and here’s the thing, you’ve got to use the right oil to keep your John Deere running smoothly. Stick exclusively with John Deere HY‑GARD® (J20C) transmission oil; don’t mix in other fluids or type “F” automatic transmission fluid. The multi‑viscosity formula handles wide temperature swings, so you’re covered whether it’s hot or cold outside. Selecting the proper hydraulic fluid can also affect the viscosity stability of your system under varying loads. Before adding oil, park on level ground, let everything cool down, and lift your seat to access the dipstick. Pour HY‑GARD slowly through the dipstick tube using a funnel, filling to the XX mark. The fill port located beneath seat provides convenient access to your hydraulic system. After running your tractor briefly, recheck the level since filter maintenance absorbs some oil. Getting oil viscosity and filter maintenance right keeps your hydraulic system healthy long‑term. Amsoil’s synthetic formulation offers enhanced temperature resistance, which can further improve performance in extreme conditions. Using a fluid with the**anti-wear additives ensures component wear is minimized during heavy-duty operation.

Genuine OEM Part Number: TY22000

OEM John Deere Part Number TY22035 Replaces Prior MPN TY22038