First, cordon off the spill with cones and tape so nobody steps in the slick area, then seal nearby drains and lay polypropylene absorbent pads—one pound per gallon of fluid—over the mess, pressing gently and swapping pads after a few minutes. Next, spray a 1:8 diluted neutral degreaser, let it sit ten minutes, scrub with a stiff brush, and rinse. Follow with a Simple Green solution (10 parts water for medium grime) and a quick pressure‑wash. Collect all soaked pads and sludge in a sealed, labeled container for proper hazardous‑waste disposal, then bleed, flush, and refill your hydraulic system, checking seals and filters. Keep an eye on hoses and fittings weekly, and you’ll catch leaks before they become big problems. If you keep going, you’ll uncover the full maintenance checklist.
Isolate the Area to Stop Oil Spill Spread
When a hydraulic fluid leak starts spreading, the first thing you need to do is lock down the area before the oil gets any farther. You’ll set up containment zones with warning cones, barricades, and temporary plywood pathways to keep foot traffic away from the spill. Seal floor drains, curb inlets, and any nearby storm drains so the fluid can’t migrate. Deploy booms or sorbent barriers around the source to slow the flow and direct it toward a collection point. Keep spill monitoring active—check the booms, watch for seepage, and adjust barriers as needed. Restrict access with clear signage and only let trained crew cross the designated paths. This quick isolation buys you time for the next cleanup steps. Proper disposal prevents environmental contamination and complies with local regulations. Use absorbent pads to capture residual fluid and prevent further spread. Remember to consult the material safety data sheet for hazard classification before handling the fluid.
Deploy Absorbent Pads for Oil Spill Cleanup
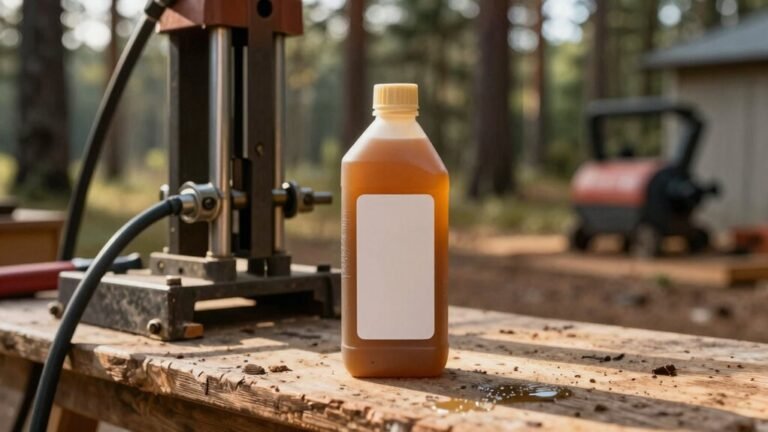
If you’ve already cordoned off the leak, the next step is to get those absorbent pads on the spill before the fluid spreads any further. Choose pads with a polypropylene, nano‑enhanced core for rapid uptake, and match the pad size to the spill area—one pound pad handles roughly a gallon of oil. Store them close to your workbench or garage so storage logistics aren’t a headache; keep a sealed bin near the equipment you use most. Gently lay each pad over the slick, overlapping where needed, and press lightly to guarantee full surface contact. For larger pools, spread multiple pads and use perforated ones to speed absorption. After three to five minutes, flip the pads for another round, watching them darken as they saturate. Avoid heat during the cleanup process to prevent the stain from setting permanently. If the fluid contacts skin, immediately flush the area with plenty of clean water to reduce irritation and risk of infection. Always wear protective gloves when handling hydraulic fluid to prevent skin exposure.

ABSORBS ON CONTACT: Instantly soaks up water, urine, blood, vomit, and other liquids.

15-SECOND OIL LOCK TECHNOLOGY:2mm thick polypropylene construction absorbs 24oz of oil, grease, and transmission fluid in 15 seconds – 30 gallons total capacity per pack.

All-Purpose Absorbent Pad: Tackle everyday leaks, drips, and spills with universal absorbent pads designed to handle oil, water, coolants, and solvents—ideal for light spills in workshops, labs, or classrooms.
Apply Degreaser and Wipe the Oil Surface
After you’ve mopped up the bulk of the spill with absorbent pads, the next step is to tackle the thin film of hydraulic fluid that’s still clinging to metal, rubber, and wood surfaces. First, suit up in proper safety gear—gloves, goggles, and a mask—to keep yourself protected while you work within your spill containment plan. Dilute a neutral degreaser 1:8 to 1:10 as the label advises and load it into a spray bottle. Spray evenly across the oily area, making sure the mist reaches any cracks or seams. Let it sit for 10‑15 minutes; this dwell time emulsifies the oil. Then grab a sturdy shop rag or a stiff‑bristle brush, scrub gently, and wipe away the loosened fluid. Rinse the rag with clean water as you go to avoid spreading residue. The homeowner’s pre‑treatment with Blue Dawn dish soap helped reduce the amount of heavy degreaser needed. Regularly checking for fluid discoloration can alert you to early degradation before spills occur. Recognizing the sweet petroleum scent can help differentiate a normal leak from a more serious contamination issue. Remember to keep the system’s highest point accessible for future bleeding procedures.
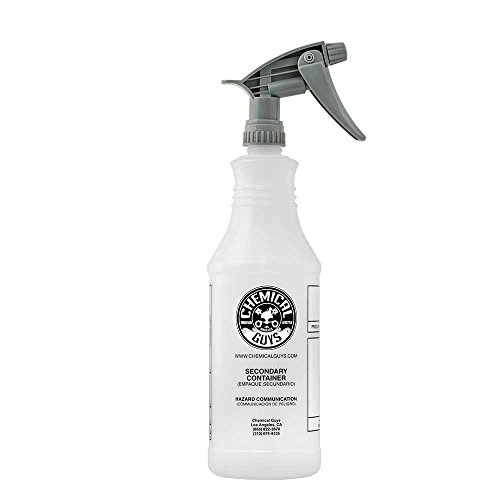
Chemical resistant bottle and sprayer

Triple Action Power: Professional-strength cleaner, degreaser, and disinfectant in one. Ideal for cleaning tools, tires, vinyl, stainless steel, engines, plastic, rubber, and more—this product powers through tough soils fast.

Super heavy-duty industrial strength sprayers have resistance to all chemicals and acids
Mix Simple Green Cleaner and Scrub the Residue
Mixing Simple Green Cleaner and scrubbing the residue is the step that really gets rid of that stubborn, greasy film on your leaf‑blower housing, wood‑chipper gears, or log‑splitter hydraulic fittings. First, pick a dilution ratio that matches the job: for medium grime, mix 10–30 parts water; for thick, baked‑on buildup, go full‑strength to 10 parts water. If you’re using the Crystal variant, aim for 25–30 parts water when you’ll be scrubbing. Let the solution soak a minute so it can break down the oil, then grab a stiff brush or a foam pad. Apply gentle, circular scrubbing techniques, using enough pressure to lift the residue but not to gouge the metal. Rinse thoroughly with plenty of water before the solution dries. The pump’s pressure surge can be harnessed to power low‑energy tools when water flow is available. Regularly checking for moisture contamination helps prevent corrosion and maintains optimal performance.
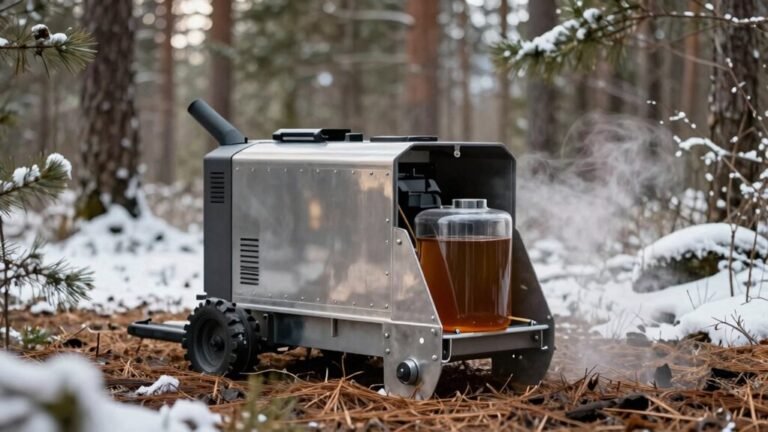
Run Surface Cleaner After Degreasing
Ever wonder why your leaf‑blower housing still looks greasy after you’ve scrubbed it with Simple Green? The leftover film is stubborn, and you need a surface cleaner to finish the job. First, pick the right equipment selection—a compact rotary nozzle that fits your blower’s tight spaces works best. Connect it to a low‑pressure pump; you don’t want to blast the housing apart. Run the cleaner in slow, overlapping strokes, letting the water lift the remaining residue. After you’re done, perform a quick pressure testing check: attach a gauge and verify that no leaks appear when you pressurize the system to its normal operating level. The good news is you’ll see a spotless, grease‑free finish in minutes. The urethane wheels provide smooth rolling on rough concrete, making it easier to maneuver the cleaner across the housing. Remember to wear protective gloves when handling any hydraulic fluid to prevent skin contact. Proper viscosity control ensures the fluid flows efficiently through the system. Always inspect fluid level before starting any cleaning operation to avoid accidental spills.
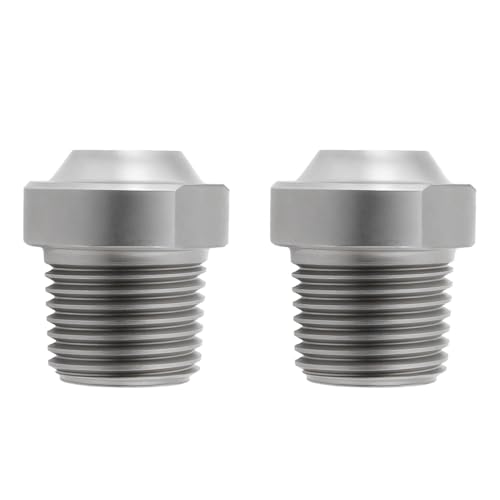
1/8 Inch NPT Thread: These nozzles have a 1/8 inch NPT thread, making them compatible with a wide range of pressure washers and easy to install or replace.

Multi-functional Surface Cleaner Nozzle: Suitable for undercarriage cleaners, water brooms and pressure washer surface cleaners, meeting various cleaning needs.
High-quality and durable material: Made of high-quality stainless steel, The pressure washer nozzle tips have excellent rust resistance and corrosion resistance. Even in harsh working environments, it can be used stably for a long time, greatly extending the service life of the nozzle
Dispose Oil‑Contaminated Waste Safely
You’ve just wiped down that leaf‑blower housing, but now you’ve got a bucket of oily sludge and a few used filters staring back at you. First, transfer the sludge into a clean, leak‑proof container that’s labeled “Oil Waste.” Use a tarp beneath the work area, and make sure the container stays upright and sealed. For the filters, puncture the dome, drain the residual oil into a drip pan, then bag the empty filter before you toss it. Store everything in a cool, dry spot, away from sunlight or heat.
When you’re ready to get rid of it, follow local regulations for Regulatory compliance—use an EPA‑registered transporter and fill out any required waste‑disposal forms. The good news is you have Recycling options: take the oil and filters to a hazardous‑waste facility, auto shop, or a third‑party service that re‑refines used oil into new product or fuel. This keeps the environment safe and saves you from costly fines. Always keep hydraulic fluid away from ignition sources, as many types are flammable.
properly venting the cylinder before removal helps prevent accidental discharge.

HOLDS UP TO 20 QUARTS of used motor oil, allowing multiple oil changes before needing to recycle your used oil


BRIGHT AND VISIBLE – USED OIL LABELS: Say no to fuel cross contamination and spillage with these brightly coloured and long-lasting waste oil labels. Highly visible, even when it’s dark and even when you're tired!
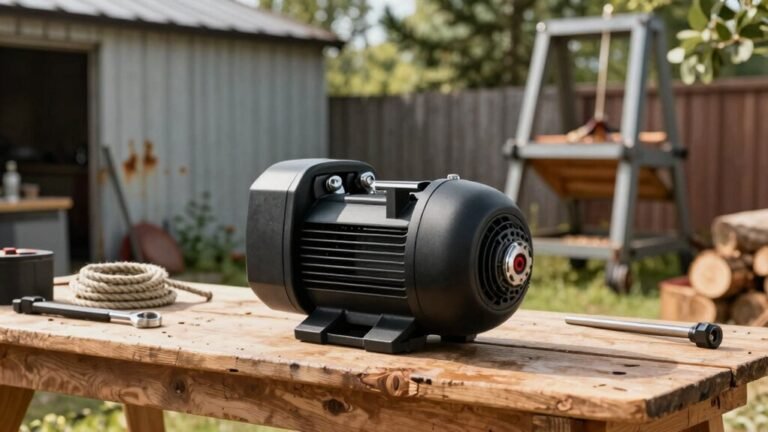
Maintain Hydraulic System After Oil Spill
After a spill, the first thing you need to do is stop the hydraulic system from spreading the contamination any further. Release pressure from the reservoir, then drain all fluid and discard it safely. While the tank is empty, clean the dipstick area, fill plug, and filter housing to keep debris out. Next, perform a post‑spill system inspection: check cylinders, pumps, hoses, and connections for leaks or damaged seals. Replace the hydraulic filter—post hydraulic filter replacement is essential because the old filter is saturated with contaminants. Flush the tank, circulate fresh fluid, and drain it again before refilling to final fluid level. Finally, verify fluid condition and level, and run each actuator one at a time to confirm everything works smoothly. Ensure proper seal installation using a seal driver to prevent future leaks. Bleed the cylinder before refilling to remove trapped air and maintain optimal performance. Understanding hydraulic pressure fundamentals helps prevent future over‑pressurization incidents.

[HYDRAULIC OIL FILTER] The 10-micron hydraulic oil filter assembly is designed to remove contaminants from petroleum-based, high water, water glycols, and water/oil emulsions fluids, it's best suited for cleaning petroleum-based fluids

Replace Part Number: 47393888 93402C1 93413C1 ABC4526 MC93413C1

Fits Toro Dingo TX1000 Compact Utility Loader.
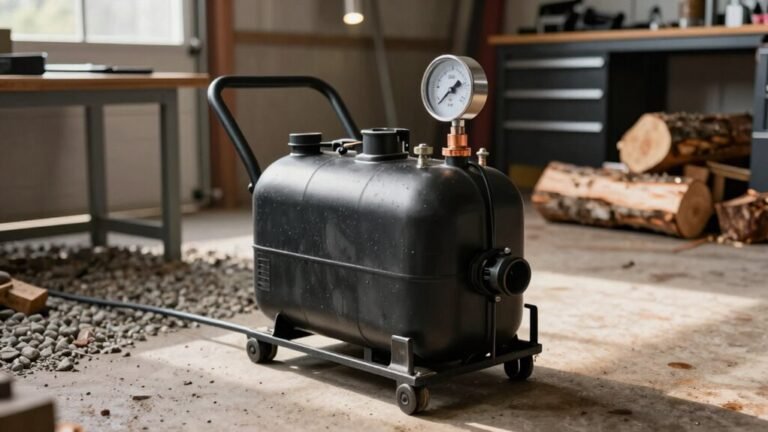
Prevent Future Oil Spills With Routine Checks
If you keep an eye on your gear before a spill happens, you’ll save yourself a lot of hassle later. Start with solid inspection protocols: walk the hose reels, tanks, and transfer lines each week, looking for rust, cracks, or loose fittings. Use a simple checklist and note everything in a log that you keep for three years. The good news is that sensor integration can make this routine painless. Hook up leak‑detection sensors to your CMMS so you get instant alerts if a valve drips or a pipe vibrates out of range. What most people don’t realize is that a quick visual check combined with IoT sensors catches tiny leaks before they become big messes, keeping your leaf blower, wood chipper, and hydraulic splitter dry and safe. Understanding hydraulic fluid corrosion helps you select compatible materials and additives to further reduce the risk of damage.
Keep Your Equipment Running Smoothly After a Spill
Keeping your equipment running smoothly after a spill starts with a quick, thorough cleanup before the fluid has a chance to work its way into moving parts. First, absorb the bulk with non‑clumping cat litter or OS Oil Absorbent Powder, then sweep it into a Spilltration Husky Oil Filter Rug for easy removal. Spray a purple degreaser, wipe with rags, and follow with a 50/50 PVC vinyl cleaner on concrete or metal surfaces. Pressure‑wash the area, then hose down the machine. After the fluid’s gone, inspect filters and seals—replace any that look contaminated. Incorporate this into your regular equipment maintenance schedule, and make sure operator training emphasizes immediate spill response, proper absorbent use, and post‑cleanup checks to prevent hidden damage.