Gather a sturdy steel frame (25×50 mm box sections for the main body, 50×50 mm for the sides), weld an I‑beam with a V‑shaped tray, and attach a 30 × 6 mm steel bar ground to a razor edge. Cut 45° sliding block angles, add shims and a reinforcement plate, then bolt a half‑inch steel winglet‑wedge 10‑15° off the beam. Hook a bottle‑jack‑driven hydraulic cylinder with a two‑spool valve, pressure relief, and reinforced hoses. Install a spring‑loaded auto‑stop lever, safety gear, and a 3‑inch gap, then test with a short log; the next sections walk you through each step in detail.
Gather Materials & Tools for a DIY Log Splitter
Ever wondered what you actually need before you start building a log splitter that won’t fall apart on the first log? First, focus on material sourcing. Grab a 25×50 mm rectangular box section for the main frame, a 50×50 mm square box for side elements, and a salvaged upright from a store display unit with adjustment holes. You’ll also need a 30 × 6 mm steel bar, about 600 mm long, and a couple of 8 mm thick plates for bolt load spreading. For the hydraulic side, source a bottle jack, an 11 GPM pump, a LO75 coupler, and a pump‑mount with bolts. Now, tool selection: bring a welding rig, bandsaw, grinder, drill, and a set of clamps. A few shims cut from beer cans will give you that precise slide fit. The good news is most of these items are cheap at a local metal yard or salvage shop. The steel bar must be ground to a sharp edge to ensure clean splits. Properly inspect the hydraulic seals for wear to prevent fluid leaks during operation. The pump’s pressure surge can be harnessed to drive the split‑action piston efficiently. Before you begin, remember to purge air from the hydraulic lines to avoid performance loss.
Stops Current Leaks And Prevents Future Leaks
Hydraulic bottle jack designed for residential and commercial use; Serrated, heat treated saddle provides generous lifting area and secure grip

Exceptional Splitting Power: This manual hydraulic log splitter boasts an impressive 12 T of splitting force, effortlessly handling logs up to 18.7 in in length and 8 in in diameter. This powerful performance ensures efficient wood processing for heating or woodworking needs, making it a must-have for any home.
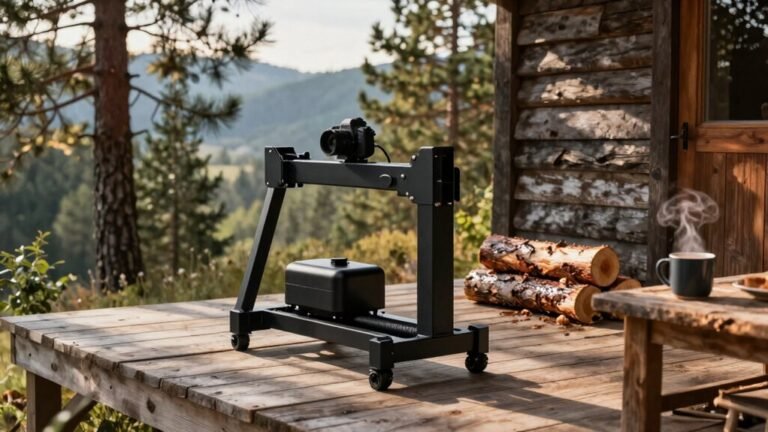
Design the Frame Layout for Your DIY Log Splitter
Now that you’ve gathered all the metal, bolts, and hydraulic bits, it’s time to figure out how they’ll fit together. Sketch a simple layout: an I‑beam runs the length, a V‑shaped tray welds to the side, and a push plate attaches to the cylinder rod. Choose a horizontal design if you want a stationary wedge; it keeps the beam low and the material cost modest. Add crossbar extensions and feet at the bottom for stability, and consider elevating pads if you’re tall. Keep the aesthetic finish in mind—paint the steel with rust‑inhibiting primer and a matte black coat. This gives a clean look without inflating costs, while ensuring the frame stays sturdy for years. The splitter’s auto‑return mechanism allows the ram to retract automatically after each split, reducing manual effort. Incorporate a hydraulic pressure gauge to monitor system performance and maintain safe operating levels. For quieter operation, consider a battery‑powered hydraulic system, which also reduces emissions. Always wear protective gloves and maintain a clear work area to prevent accidental contact with moving parts.
Build the Sliding Block for a DIY Log Splitter
When you start shaping the sliding block, picture it as the heart of your splitter’s motion—if it doesn’t glide smoothly, the whole machine will feel like a busted door. Begin with material sourcing: grab a 25×50 mm rectangular box section and a 50×50 mm square section from a salvaged display unit. Cut 45‑degree steel angles for the funnel, then tack‑weld them together. Grind the surfaces, drill oversized bolt holes, and add a quarter‑inch plate for reinforcement. Use beer‑can shims (≈0.1 mm) to fine‑tune the gap between block and rail, ensuring the block slides without wobble. Before welding the dovetail, run a quick torque calculation to confirm your bolts can handle the push force without stripping. Finally, flip the 45° angles upside‑down for wood clearance and test the glide—adjust shims until the motion feels effortless. The post and brake‑disc weight adds stability and prevents the unit from tipping during operation. Remember to wear protective hearing gear while testing the slide to avoid damage to your ears. Proper blade angle ensures efficient cutting and prolongs blade life. Always check the hydraulic fluid level before each use to avoid overheating and ensure smooth operation. hydraulic fluid level should be within the marked range on the reservoir dipstick.
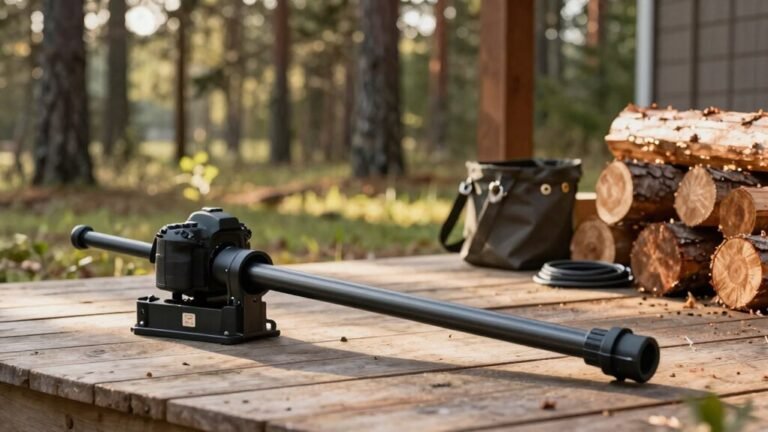
Hook Up the Hydraulic System and Get the Cylinder Working
You’ve just got the sliding block humming, so it’s time to bring the hydraulic heart to life. First, grab the recycled hoses and fit them between the power pack and the distributor, making sure each connector matches the pump and valve ports for a leak‑free seal. Do the hydraulic sizing now: the main 80/45 mm cylinder needs about 11 GPM flow, while the smaller feeder and lift cylinders get flow‑slowing valves to tame their speed. When it comes to valve selection, pick a two‑spool unit with a pressure relief set above the calculated force for your 20‑ton splitter, and add a latch for controlled extension. Mount the power pack securely to the frame, connect the manifolds, and you’ll see the cylinders move smoothly, ready for the next step. Ensure the hose material meets the required pressure rating and abrasion resistance for forestry equipment, using high‑pressure reinforced polymer hoses to prevent premature wear. Proper pressure relief settings protect the system from over‑pressurization and extend component life. Understanding hydraulic fluid dynamics helps you fine‑tune flow rates for optimal performance.

【Industrial-Grade High Pressure & Temperature Resistance】: Engineered for demanding applications, this hose withstands continuous operating pressures up to 5800 PSI and high temperatures up to 250°F (120°C), ensuring reliable and safe performance in tough hydraulic systems.

8 Crimping Dies: This high pressure hydraulic hose crimping tool comes with 8 dies of varying sizes: 10mm, 12mm, 14mm, 16mm, 19mm, 23mm, 27mm, and 30mm. Crimping range: 0.24" to 1.1" I.D. (6mm-28mm), maximum opening without dies: 2.28 inches (58mm)

3/8" ID Hydraulic Hose Repair Kit: 2PCS 3/8'' reusable hydraulic fittings compatible for 3/8" ID, approx. 0.77" OD - #06 Hose.
Fabricate and Mount the Wedge for a DIY Log Splitter
How do you turn a raw piece of steel into a sturdy, sharp wedge that slides onto your ram like a glove? First, pick a wingedge material—half‑inch‑thick steel plate works best. Cut the main body to a 5‑inch width, then use a contour gauge to trace the winglet shape. Grind the edges smooth, bevel them, and clean the metal before welding the winglets. After welding, grind the cutting edges to a razor‑sharp profile and check the slot width; it should be about 3 ¾ inches. For mounting, set the beam half an inch above the welded plate and angle the wedge 10‑15° down. Position the pin 1½ inches from the front edge, then bolt the bracket using your hydraulic‑tuning measurements. Slip the wedge on, tighten, and you’re ready to split. The reinforced bottom piece prevents spreading under pressure, ensuring long‑term stability. Wedge design allows deeper penetration into dense, knotty logs. The hydraulic cylinder’s pressure control ensures consistent force throughout the split. Always wear protective gear to safeguard against accidental injuries.

Package Content: You will get 2 pieces of flange wedge steel that can improve construction and equipment projects with our steel flange wedge set, adjust equipment levelness, reduce machine wear, and ensure safety.

Steel Flange Wedge Set: The package comes with 12 pcs of flange wedge steel that can improve construction and equipment projects with our steel flange wedge set, this metal wedge is ideal for leveling and moving equipment, it minimizes machine wear and improves safety, giving you peace of mind while you work

Install Safety Features and the Auto‑Stop Lever on Your DIY Log Splitter
If you skip the safety gear and auto‑stop setup, you’re basically inviting trouble before you even fire up the hydraulic ram. First, suit up with safety gear: glasses, leather gloves, sturdy boots, and ear protection. Keep loose clothing away and clear a 20‑foot safety zone. Next, mount the spring‑loaded auto‑stop lever on the control panel so it returns to neutral when you release it. Test that you must hold the lever to keep the ram moving—this prevents accidental activation. Wire the lever to the hydraulic circuit, then verify it cuts power instantly when released. Finally, block the wheels, check fluid levels, and make sure the wedge is secure before you start splitting. This simple checklist keeps you and bystanders safe. Ensure all gear is properly fitted before operation. Remember to bleed the cylinder if you notice any spongy movement. Proper hydraulic fluid selection helps prevent corrosion of metal components. Using a splitting wedge correctly reduces effort and improves split quality.

Exceptional Performance at Your Fingertips: With a remarkable maximum speed of 3600 RPM, a maximum operating pressure of 3000 PSI, and an 13 GPM high flow rate, our hydraulic wood log splitter pump is your ultimate solution for tackling all types of wood. This hydraulic gear pump excels in both speed and force, ensuring efficient wood splitting like never before, making it your go-to tool for any wood processing task.


1) Excellent Performance: This hydraulic wood splitting machine pump has a maximum working pressure of 3000 PSI, maximum speed of 3600 RPM, inlet port is 1 inch and outlet port is 1/2 inch NPT, which can efficiently achieve wood cutting and improve work efficiency
Wire Up the Pump‑to‑Motor Coupling for a DIY Log Splitter
Ever wonder why a solid pump‑to‑motor coupling can make or difference between a smooth split and a rattling mess? First, slide the rubber spider into the lower coupler half that’s already on the pump shaft. Then, align the upper half on the engine crankshaft, making sure both shafts sit concentric. Use a straight edge at 90° intervals to confirm the halves line up; a tiny mis‑alignment can cause vibration later. Next, bolt the halves together with grade‑five bolts, lock washers, and flat washers. Tighten them snugly, then perform torque verification—add a little more torque for steel, a fraction less for aluminum. Finally, rotate the assembly by hand; it should turn smoothly without binding. This guarantees reliable power transfer before you fire up the splitter. Drilled using a drill press for precise hole enlargement. Properly priming the hydraulic pump with fluid reservoir fluid fluid pressure buildup before pressure buildup. the before before before starting] pressure buildup before hydraulic fluid ensures consistent operation. Regularly inspect the hose couplings for signs of wear to prevent sudden leaks.
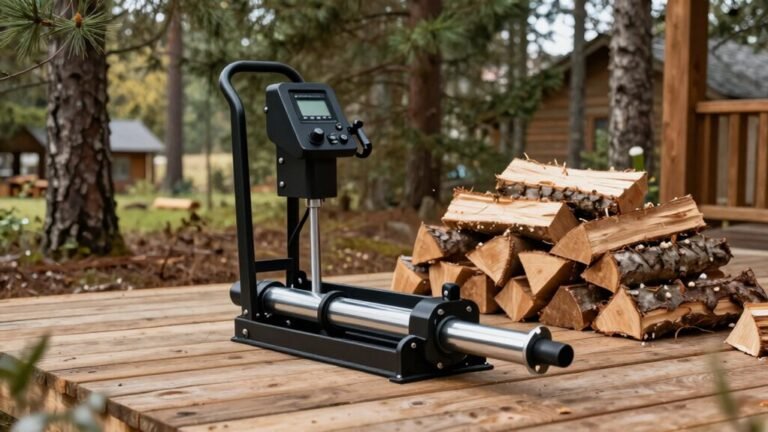
Test the DIY Log Splitter and Adjust the Block‑Upright Gap
Before you fire up the cylinder, give the whole thing a quick “walk‑through” to make sure the block slides cleanly against the upright and the gap isn’t too tight. Start with alignment calibration: pull the block up, check for wobble, and insert 0.1 mm shims where paint or uneven wood creates resistance. Next, perform torque testing on the pedal and guide belt; tighten until you feel steady resistance but not binding. Run a short test cycle with a 24‑inch log, watching the block‑upright gap at full extension. If the block sticks, add or trim spacer wood until you consistently see a three‑inch clearance. Ensure hydraulic pressure is within the recommended range before testing. Record your adjustments, then repeat a few strokes to confirm the gap stays even under pressure.
Troubleshoot Issues & Fine‑Tune Performance on a DIY Log Splitter
When your DIY log splitter starts shaking or won’t fire up, the culprit is usually something simple you can fix on the spot. Check oil selection first—use the manufacturer‑recommended hydraulic fluid and keep the level above the minimum mark; low oil or the wrong viscosity causes vibration and loss of force. Next, bleed the lines to purge air; loose fittings or worn seals let water and air into the system, so tighten bolts and replace seals if needed. Inspect safety components: verify the emergency stop, guarantee the unit is grounded, and keep area clear of water. For engine start‑up, confirm fuel is full, the switch is on, and the power cord meets the 10‑gauge minimum. If the cylinder rod stalls, remove shipping plugs, flush hoses, and replace any worn drive couplers. This quick troubleshooting will get your splitter humming again. Use a 10 AWG extension cord for long runs to prevent voltage drop.
Exceptionally Long Life: Designed for 6,000-hour severe service with high oxidation resistance, providing up to 3 times the lifespan of standard fluids, minimizing the need for frequent replacements

Exceptionally Long Life: Designed for 6,000-hour severe service with high oxidation resistance, providing up to 3 times the lifespan of standard fluids, minimizing the need for frequent replacements

Meets and exceeds all OEM specifications for power shift transmissions
Wrap‑Up: Final Checklist and Next Steps for Your DIY Log Splitter
So, what’s the final step before you start cracking wood with your DIY log splitter? Give it one last walk‑through: tighten every bolt, verify the ram stays parallel to the pillar, and make sure the auto‑stop lever moves freely. Slip on your safety gear—gloves, goggles, steel‑toe boots—because even a well‑built machine can surprise you. Check tire pressure, lubricate bearings, and scan hoses for leaks. Then run a dry cycle, listen for smooth ram travel, and confirm the auto‑return engages. After the test, wipe down the frame, apply a thin coat of oil to moving parts, and log the inspection in your maintenance schedule. Keep a 10‑15‑foot clear zone, stack split logs on level ground, and you’re ready for the first batch.